Electronic engineering for everyone – learning electronic engineering from scratch (development ideas and paths)
Electronic engineering for everyone – learning electronic engineering from scratch (development ideas and paths)Date of publication: 11-10-2023 Update date: 10-04-2026 🕒 14 min read

In the first section of this article, we discussed differences between analogue and digital electronic engineering and presented a list of materials and devices worth buying while planning your first projects. In the second section, we described how to implement your first projects without using a soldering iron and how to make sure you are prepared for soldering operations. In this section, we will present a few inspiring directions worth taking while creating your very first electric circuits or teaching your kids the basics of electronic engineering.
Ideas and inspirations for beginners
The most considerable (and possibly the only) obstacle when it comes to starting your electronic engineering education experience is the necessity to put together a few pieces of equipment. As it has been mentioned in the previous sections, a solution to this problem largely depends on your approach to this new hobby. There are numerous different routes to be taken, each of which is connected with certain risks and challenges. Let us have a look at some issues you need to face at the very beginning, and also the related expenses. However, one thing must be stressed: the necessary costs will not be high.
Basic electric circuits
Before we dive deeper into electronic engineering, we should imagine what electricity is on the basis of a practical, intuitive metaphor that can also help children understand the phenomenon. The “flowing water” metaphor is easiest to use. The difference in potentials, or electric voltage, can be represented as the difference in altitude between a water source and reservoir (or pressure generated by a pump, whose role, in the case of electricity, is assumed by a power supply module). If we visualise the electric current as a flow of liquid in a pipe, a switch can be seen as a valve. Therefore, the electric current would be the river current, a resistor would symbolise a constriction which restricts the flow, and a capacitor could be treated as a reservoir which first fills up and, when the valve is closed, gradually empties for some time, allowing water to continue to flow. This metaphor can be used (to put it very simply!) to explain numerous phenomena present in the field of electronic engineering.
Once you can imagine what current flow looks like, you can get down to your first project. This learning process stage is vital for youngsters. Note that a child must first learn the basics which might seem obvious to adults. Therefore, let us start from simplest circuits, e.g. the ones included in home electric systems. First, powering a light bulb with a battery, then switching the light bulb on/off with a button, next alternate activation of two light bulbs with a switch, and so on. A good exercise to explain practical electricity applications consists in creating a system of two switches, each of which can be used to open and close a circuit. This solution is often used within long corridors where illumination is activated at one end of the passage and deactivated at the other. Note also that drawings are an excellent way to facilitate any kind of learning, and in this case they might serve as an introduction to studying connection diagrams.
Once your student understands how electricity can be operated, you can present to them a resistor (light dimmer) and then replace the bulb with an LED that will only light up if the leads are correctly connected to the + and - power supply module terminals. In this way, you have smoothly and seamlessly entered the world of electronic engineering.
Basic projects in the field of electronic engineering
It is always worth considering the path you want to follow while starting a new project in the field of electronic engineering. To ensure the necessary consistence, it is advisable to choose one of the three paths described below in order to successively master certain groups of issues. This is an individual choice, so you should go for the option you find most appealing (or another one, related to your interests or present circumstances). When working with a kid, a good approach is to first explore topics in which your young student shows any interest. General topics related to electronic engineering are closely interconnected: whatever path you choose, you will still reach your ultimate goal, which is mastering the basics. Simultaneously, remember that everyone makes mistakes while learning. Burnt components, damaged wires and incorrectly connected circuits – it is nothing extraordinary even for experienced engineers. So never give up and always keep trying!
An electronic engineer's basic tool is a dustbin – to discard all failed projects.
Component-based learning path in electronic engineering
The first approach to learning about electronic engineering is to focus on simple circuits that you can create using most basic components. The advantage of this approach consists in the fact that you will quickly learn how to read diagrams and decipher parameters of various elements while studying their abbreviated values printed on components’ bodies. Additionally, it will enable you to read and understand electronic diagram symbols and related documentation. Such skills are necessary to correctly connect transistors, recognise the capacitor and LED polarity, etc.
Focusing on circuits created from basic components will not limit you to implementing trivial projects. On the contrary, this approach enables you to build motor control circuits, sound generators, audio signal amplifiers and converters, illumination controllers and many other useful devices. As a result, you will learn their operation principles, which will make it easier for you to select and use integrated circuits in the future.
Some projects that are worth implementing at the very beginning include: multivibrators, bridge-rectifiers, H bridges, comparators, automatic switches with temperature and light sensors, signal adders, amplifiers, RC filters, etc. Their operation is adjustable via correctly connected switches and potentiometers, which makes them suitable to fulfil various functions.
At this stage, it is also worth making friends with the gates used to execute AND, NAND and OR logic operations, etc. Such circuits can be easily created using transistors, which enables you to take the first step towards digital electronic engineering and issues related to computerisation. A logic gate is a solution used in numerous “small automation” projects, so it is a useful tool when it comes to designing customised devices.
Integrated circuits in learning electronic engineering
Integrated circuits are nothing more than precisely manufactured and enclosed electronic circuits. When you implement your projects, they can be used similarly to building blocks. Their design significantly accelerates the process of creating more complex devices. Therefore, it is worth exploring certain multifunctional products with long-lasting, established presence in the world of electronic engineering.
There are (literally) hundreds of thousands of integrated circuits available on the market, but you should not get carried away! They fall into dozens of groups, but not all of them are suitable for beginners. It is enough to become familiar with one solution that represents each basic group to get to know its capabilities and application range. The best approach is to select products that are popular and, therefore, widely documented. Moreover, all you need to do is study the documentation where a typical/exemplary circuit operation method is always described. Once you create it, you should run some experiments. You will very quickly realise that ICs are designed with the ease of use in mind. You will also discover that combining them into more complex circuits is hardly a complicated task.
Your learning process will surely benefit from using modules designed for prototyping. These are small PCBs equipped with factory-installed integrated circuits, necessary components and clearly labelled leads. As electronic engineering is a very popular hobby, numerous circuits, e.g. sensors, transducers, amplifiers, etc., are available in such a form. They are suitable for use with contact plates, as they are space-efficient and streamline the implementation of larger projects. Another valuable lesson consists in recreating a module on a contact plate using individual components – it presents an opportunity to run experiments, such as changing the values of circuit components and observing the circuit operation response.
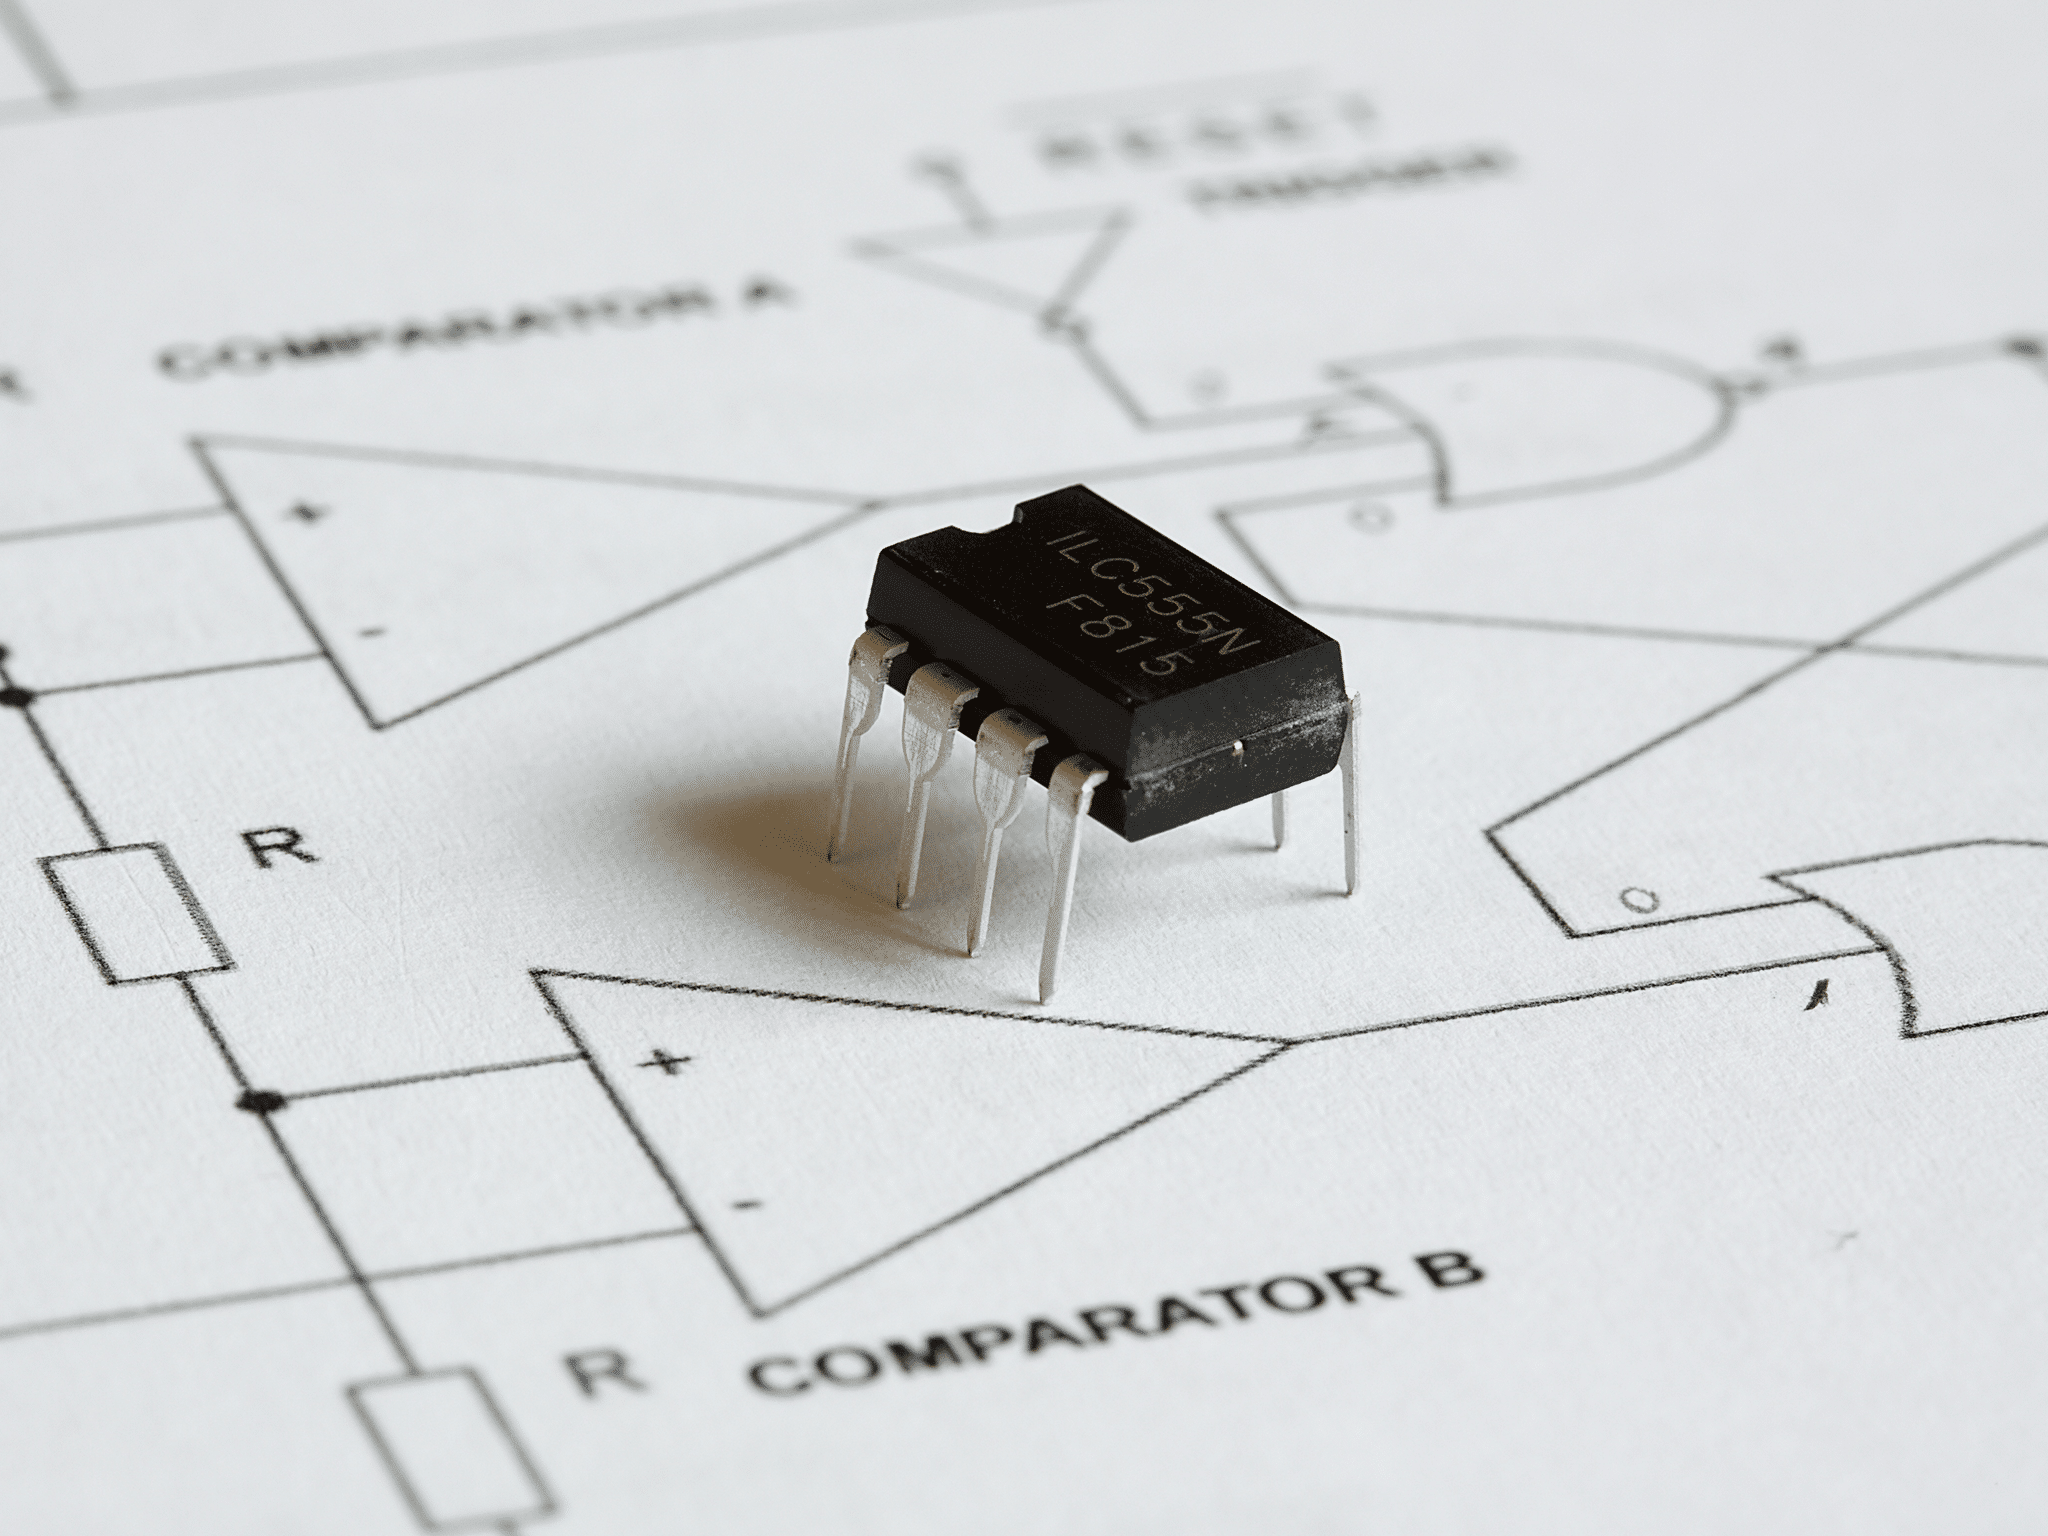
For over 50 years, Timer 555 has been one of the most popular integrated circuits.
Therefore a question remains... which circuits should you start with?
Timer NE555 is an “evergreen” of electronic engineering. Even though it is over 50 years old, it can also be encountered in newly designed devices. The longevity and popularity of this design results from its robustness, simplicity and great versatility, as it facilitates creating various square-wave oscillators and timing circuits; it can also operate in three modes: monostable (single pulse generation), retractive (waveform) and bistable ( flip-flop switch), after a few internal components have been correctly selected.
Operational/voltage amplifiers and LM358 are extremely useful components that are applied not only in audio equipment-related projects (as could be wrongly assumed from their name, i.e. “amplifier”). For example, the LM358 can be used to generate waveforms or conditional power supply to other components. It is irreplaceable in numerous applications, as it facilitates adjusting signals generated by one source (e.g. sensor) to input levels required by another circuit (e.g. motor controller). Obviously, it can also be included in audio equipment circuits (microphone pre-amplifiers, mixers, etc.). It features a relatively broad range of electric parameters, which makes it resistant to damage caused as a result of unsuccessful, amateur experiments. Moreover, similarly to Timer 555, it is very cheap.
Basic motor control, L293D – an H bridge is a system making it possible to control DC motors with three signals. The first two signals define the method of connecting a power supply module to motor leads (i.e. axis rotation direction), and the third one activates the current flow (i.e. drive activation). The control signal power does not need to be high, so L293D facilitates creating systems in which motion depends directly on the sensor or generator output state.
Adjustable voltage stabiliser, e.g. LM317 – even though there are many methods to generate necessary voltage in electronic circuits (e.g. using Zener diodes), an adjustable stabiliser makes it possible to ensure a constant potential difference offering considerable current capabilities. This objective must be achieved in numerous projects, e.g. while creating a system to control fan speed or LED band illumination brightness. Moreover, non-adjustable stabilisers (with rated output voltage), e.g. 7805 (5 V) or 7812 (12 V) must be mentioned. Such and similar related integrated circuits are installed in most battery-powered devices, so it is worth getting familiar with the operation principle.
| Image | Price | Shopping list |
|---|---|---|

|
various prices | Prototype models |

|
from PLN 2 | Timer 555 |
|
|
from PLN 4 | Operating amplifier, LM358 |

|
from PLN 20 | H bridge, L293D |

|
approx. PLN 2 | Adjustable stabiliser LM317 |

|
up to PLN 2 | Non-adjustable stabilisers |
Theoretical path in learning electronic engineering
You might wonder why the theory is mentioned only as the third most important issue? First and foremost, in order to implement all of the projects described above, a designer must have certain knowledge related to electricity, and they must also acquire certain skills related to simple physical formulas (such as those derived from Ohm's law). Later on, a hobbyist creating such circuits becomes familiar with certain terms, quantities and units. Therefore, they may naturally move on to pure theory and precise measurements.
As far as training materials are concerned, it is advisable to select publications describing the basics of electronic engineering in a comprehensive and structured manner. So you must find a suitable book or website and follow its “syllabus”. Obviously, a “refresher course” in physics for older students, based on the information they acquired at school, is also a good idea.
Let’s break some equipment and electronic toys
Arvind Gupta, a Hindu populariser of technical sciences, once said that “the best thing a child can do to a toy is to break it”. The educational value resulting from getting familiar with mechanical and electric solutions used in toys, even the smallest ones, should not be underestimated. It also applies to “toys” for older “kids”, such as remote controllers, power banks and other gizmos. If your electronic engineering workshop is equipped with multimeters and an oscilloscope, you can get down to breaking obsolete and forgotten radio and TV equipment, such as analogue camcorders or portable CD players, to get familiar with the principle of its operation. On the other hand, kids will surely find it fascinating to find out what drives their (former) favourite playing and moving toys.

Each toy is educational – just open it and look inside.
Obviously, dismantling equipment that is still in sound technical condition might not be the best idea. However, you can also learn a lot about electronic engineering by dismantling obsolete or faulty devices. Reading symbols of successive components and familiarising yourselves with their documentation will slowly enable you to recognise familiar diagrams. Hobbyists armed with a soldering iron may even be tempted to take out a few interesting integrated circuits and try to run them on a contact plate; or get involved in a more ambitious project consisting in repairing damaged equipment. Even if such projects are not successful, you will learn some valuable lessons at no cost. This is by far the most cost-effective way of learning from your own mistakes.
There is another method of acquiring valuable knowledge using certain toys, i.e. you might try modifying them by adding certain electro-mechanical or optical-electronic components. Building a new toy is often beyond a child's capabilities (and even more often – it tests their patience). However, you might suggest introducing certain modifications, for example, adding headlights (maybe even a drive...) to a toy car, or illumination or even a lift to a doll's house. This, by the way, is a good introduction to the subject of robotics.
Machines and robots in the practical study of electronic engineering
Amateur robotics has become extremely popular. It might result from the fact that building a customised machine stirs imagination and brings rewarding results. Manufacturers have already recognised this demand and, as a result, the market is saturated with a huge selection of mechanical and control components. Most of all, customers can buy ready-made, universal drive unit elements, such as a chassis or wheels. Buying various drive units, i.e. DC, BLDC or stepper motors, frequently equipped with dedicated gears and provided with standardised mounting holes, etc. is not a problem, either. In the TME product catalogue, such components are accompanied by connectors, adapters, mounts and other accessories. The same applies to servos, i.e. motors equipped with gears and encoders that enable you to precisely set the axis rotation angle, i.e. a functionality necessary to create walking robots, gripper arms, etc.
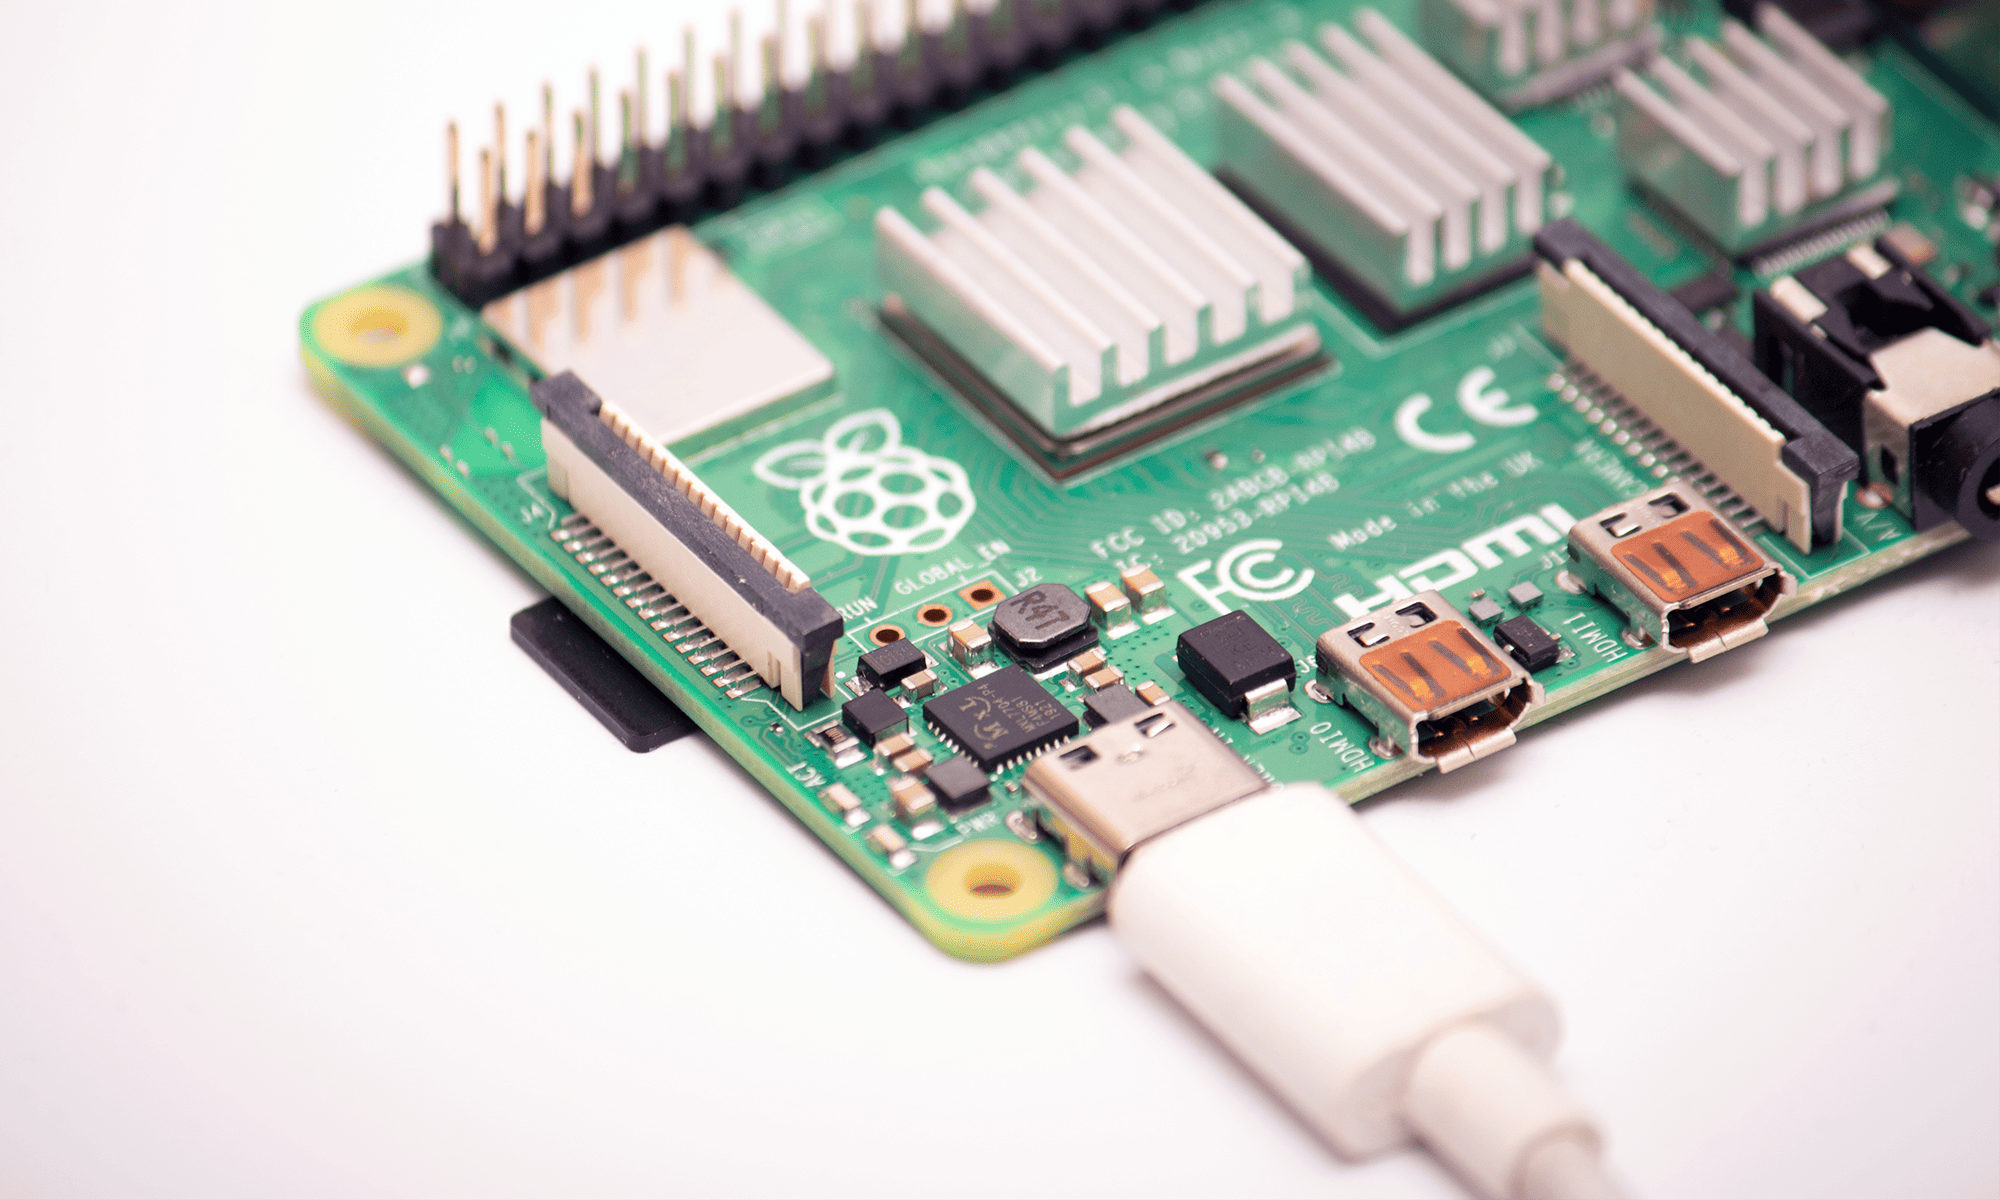
An amateur robot-maker will quickly discover all advantages of programmable electronic components, i.e. popular platforms such as Arduino or Raspberry Pi. First of all, they facilitate simultaneous, precise and fast operation control for numerous motors. Secondly, digital components streamline the machinery construction process. All necessary controllers, sensors or communication modules are extensively documented and relatively inexpensive. Thirdly, constructing robots based on basic analogue circuits is, of course, possible, but it quickly becomes complicated and sometimes downright tiresome. Numerous electromechanical components, such as servos or stepper motors, require specific control signals, and generating them using generators and amplifiers results in unnecessary design complications. Such issues do not occur when programmable components are used. Therefore, if you intend to design complex robots, you should first acquire expertise related to microcontroller programming or writing scripts for single-board computers.
| Image | Price | Shopping list |
|---|---|---|

|
from PLN 100 | Chassis, wheels, structural elements |

|
from PLN 10 | DC,BLDC motors, etc. |

|
various prices | Accessories for motors |

|
from PLN 25 | Servos |
|
|
various prices | Robot modules |
Computers – principle of operation
Due to the wide availability and low prices of logic integrated circuits, we may safely say that in order to build a simple computer you need more patience than expertise and money. Logic gates, shift registers and memory modules are easy to use, and their operation requires very few external components. The status of their outputs and inputs can be observed by connecting LEDs, which facilitates testing and error correction. Moreover, getting to know computers “inside out” is also very beneficial, as it makes it easier to understand the devices we use on a daily basis, and, at the same time, teaches us how to handle digital electronic components. Not surprisingly, some enthusiasts take on intriguing challenges in this field, e.g. they attempt to recreate “classic” computers using contact plates or design customised microprocessors, but in the “macro” scale.
An electronic engineering project that is suitable for everyone...
…does not exist.
A good project is a project which a designer is willing to implement. A project that can often be used in practice is even better. However, the best projects result in the fact that the designer obtains invaluable expertise. This in itself is enough to render a project successful. All hobbies should be fun. Therefore, do not impose any limits or, more importantly, do not set overambitious goals. The time will come for everything. It is really important, in particular when you take young electronic engineering enthusiasts under your wing.
Transfer Multisort Elektronik (TME) is one of the world’s largest global distributors of electronic components, electrotechnical parts, workshop equipment, and industrial automation. The catalog includes over 1,500,000 products from 1,300 leading manufacturers. TME’s modern logistics centers in Łódź and Rzgów (Poland), with a combined area of over 40,000 m², ship nearly 6,000 packages daily to customers in more than 150 countries.
TME also invests in the development of knowledge and skills of young engineers and electronics enthusiasts through the TME Education project, and supports the tech community by organizing the TechMasterEvent series, promoting innovation and experience exchange.