DIY coding device
DIY coding deviceDate of publication: 01-10-2026 🕒 5 min read
Hardware you need:
- 1 × Arduino UNO
- 1 × MAX7219 8x32 dot matrix display (4-in-1 module)
- jumper wires
- USB cable (for programming the Arduino)
- breadboard or mounting hardware (optional)
1. Introduction
From lighthouses to fiber optics, communication through light signals has fascinated engineers and tinkerers for centuries . In this project, we take a simple yet powerful step back in time to create a Morse code translator using an Arduino UNO and a MAX7219-based 8x32 LED matrix.
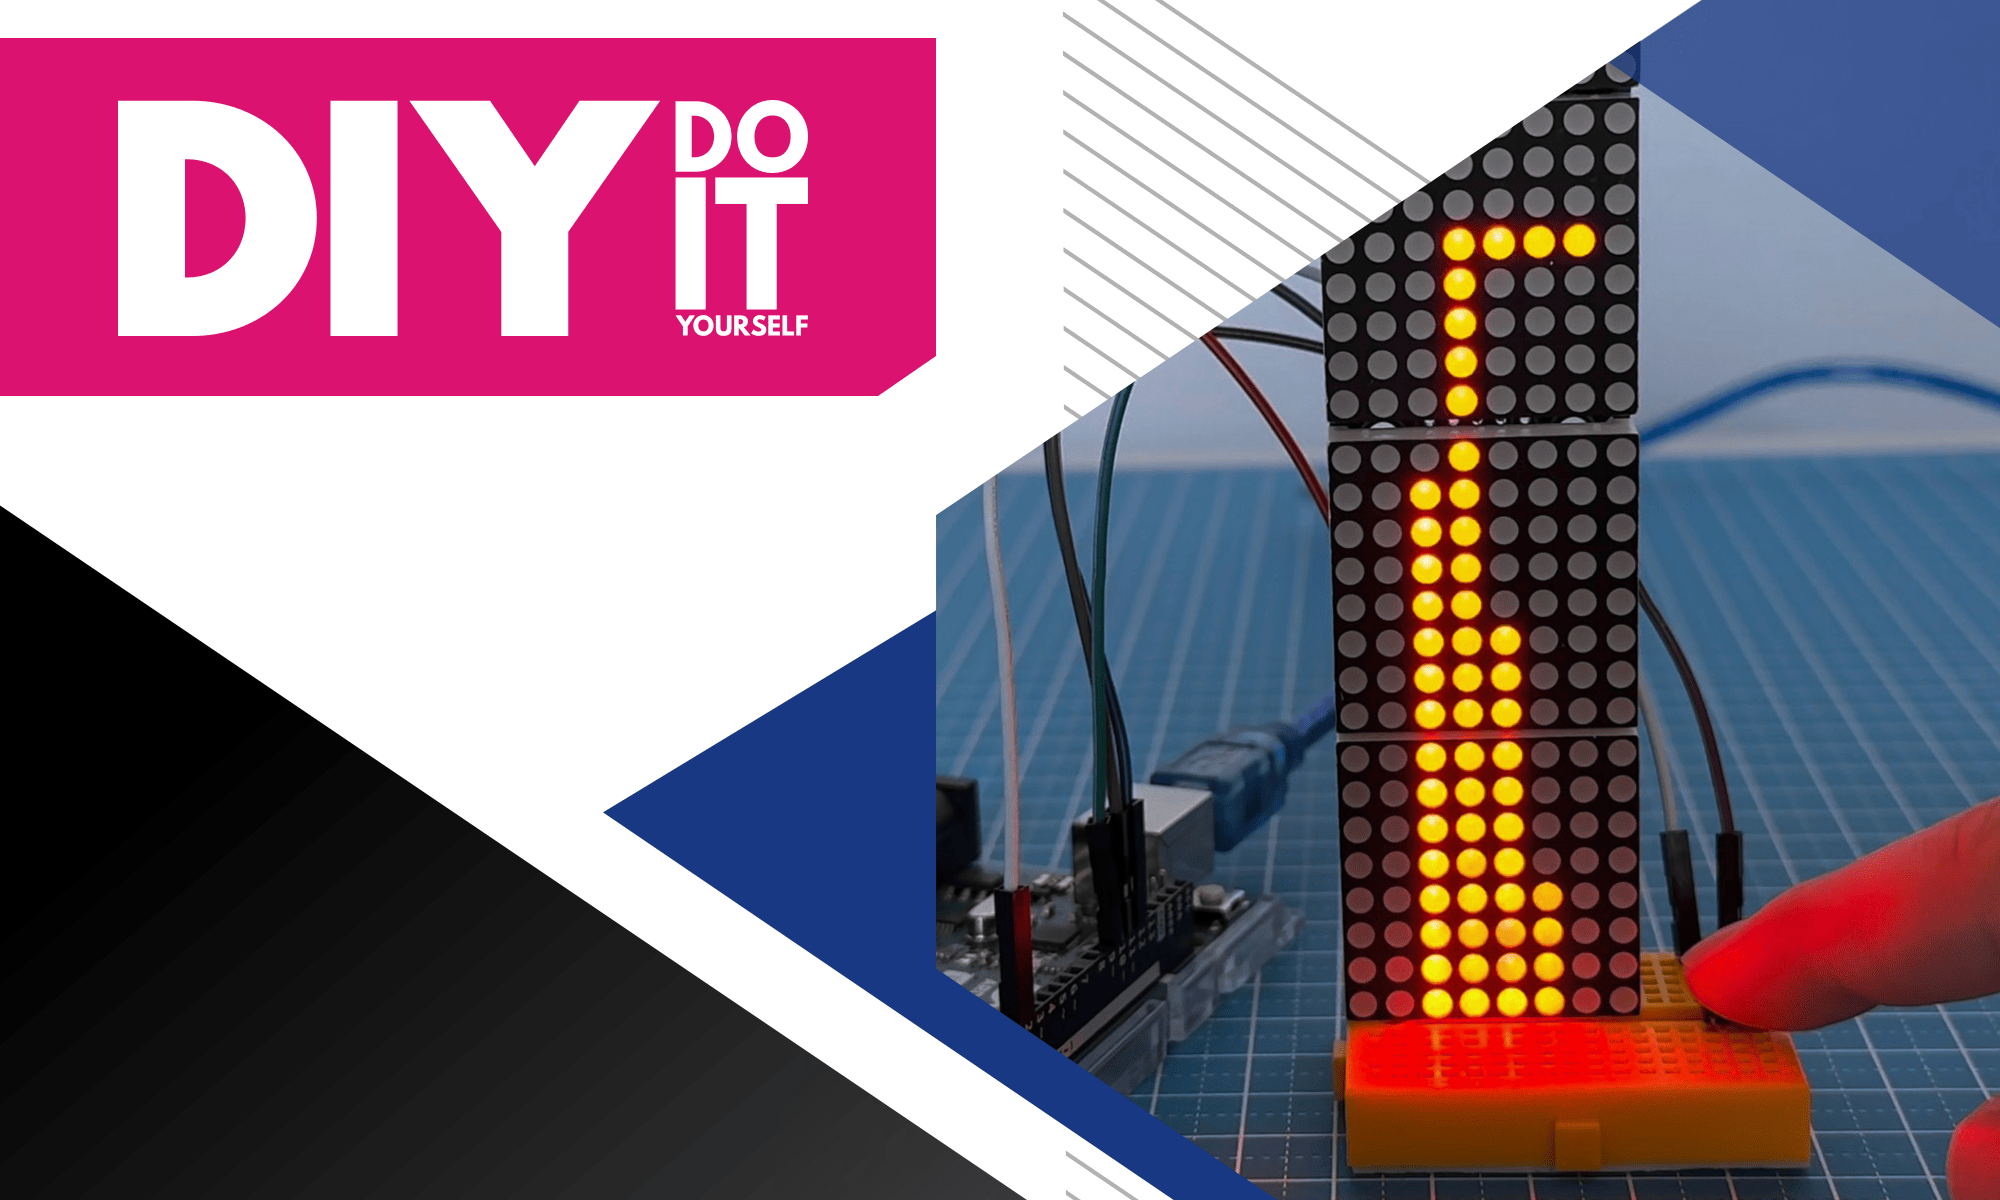
This setup allows to type any sentence into Arduino’s serial monitor, and the LED matrix will visually flash the entire display in Morse code.
This project is perfect for beginners and hobbyists looking to explore basic serial input handling and LED control with anexciting visual output.
2. Wiring
Connecting the matrix to the Arduino UNO is simple and straightforward. We’re utilizing SPI protocol for this exact purpose, a full-duplex synchronized master-slave communication protocol that can have multiple slaves but limited to one master. Using CS (chip select bus) we can choose which slave we want to communicate with. Since we want to send signals to our LED matrix but are not interested in receiving from it, we don’t need peripheral-to-controller communication bus. Connect the VCC pin on the matrix to the 5V pin on the Arduino. The GND pin on the matrix goes to GND on the Arduino.
DIN, which is the data input pin, should be connected to pin D11 on the UNO.
CS, sometimes labeled as LOAD, connects to D10.
Finally, CLK (the clock pin) connects to D13. Once connected, you are ready to upload the code and see it in action.


3. How it works
Morse code assigns each letter a series of dots and dashes. A dot is a short signal and a dash is a longer one.
For example, the letter S is represented as three dots, while the letter O is three dashes. Spaces between dots and dashes within the same letter are short. Spaces between letters are a bit longer, and spaces between words are the longest. This rhythm is essential to understanding the code.
In our project, the Arduino reads the text you input in the serial monitor. It converts each character into Morse code using a predefined table.
Each dot and dash is then displayed on the LED matrix. A dot is represented by a short flash (200 milliseconds), and a dash by a longer one (600 milliseconds). Between these flashes, the matrix turns off briefly. Between letters and words, the off-periods are longer to indicate separation.
This entire visual Morse code sequence plays out one character at a time until your full sentence has been translated into light.

4. Code
Before uploading the sketch, make sure you install the MD_MAX72XX library by MajicDesigns using the Arduino Library Manager. This library makes it easy to control the MAX7219 matrix display.
The sketch starts by including the MD_MAX72XX and SPI libraries. We define the hardware type and set the number of connected display modules to four. Next, we assign the data, clock, and chip select pins according to our wiring. The Morse code is stored as an array of strings, each representing the Morse sequence for letters A to Z.
In the setup() function, serial communication and the LED matrix are initialized. After text is entered in the Serial Monitor, Arduino reads it, converts all letters to uppercase, and then passes it to the function responsible for translating it into Morse code.
Inside the Morse translation function, the program checks each character in the input string. If it’s a space, it delays the signal to represent word spacing. If it’s a letter, the program looks up the corresponding Morse sequence. For each symbol in that sequence, it flashes the matrix. Dots flash for 200 milliseconds, dashes for 600. The length of the pauses is precisely designed to sustain the correct spacing between letters, words and sentences. This careful timing preserves the rhythm of Morse code.
The function flashing the matrix works by turning on all columns to full brightness, waiting for the required duration, and then turning everything off again. It adds a small delay after turning off to make the flashes more distinct.
Download the code here and upload it to the Arduino: LINK
5. Possible upgrades
Now that your Morse code LED matrix works, you can make it even better. For example, you can add a buzzer so the device also emits sound. Or connect a button so you can tap your own Morse code messages.
You can also upgrade the project with Wi-Fi or Bluetooth using an ESP32. That way, you can send text from your phone and see it flash on the display.
You could also set it up to show the dots and dashes directly on the matrix instead of flashing the whole thing.
This project teaches you how to use serial input, control timing, and work with an LED matrix. It’s a fun and great way to learn more about Arduino using visuals.


Transfer Multisort Elektronik (TME) is one of the world’s largest global distributors of electronic components, electrotechnical parts, workshop equipment, and industrial automation. The catalog includes over 1,500,000 products from 1,300 leading manufacturers. TME’s modern logistics centers in Łódź and Rzgów (Poland), with a combined area of over 40,000 m², ship nearly 6,000 packages daily to customers in more than 150 countries.
TME also invests in the development of knowledge and skills of young engineers and electronics enthusiasts through the TME Education project, and supports the tech community by organizing the TechMasterEvent series, promoting innovation and experience exchange.