Audio Synthesizer Project
Audio Synthesizer ProjectDate of publication: 23-10-2024 Update date: 10-04-2026 🕒 5 min read
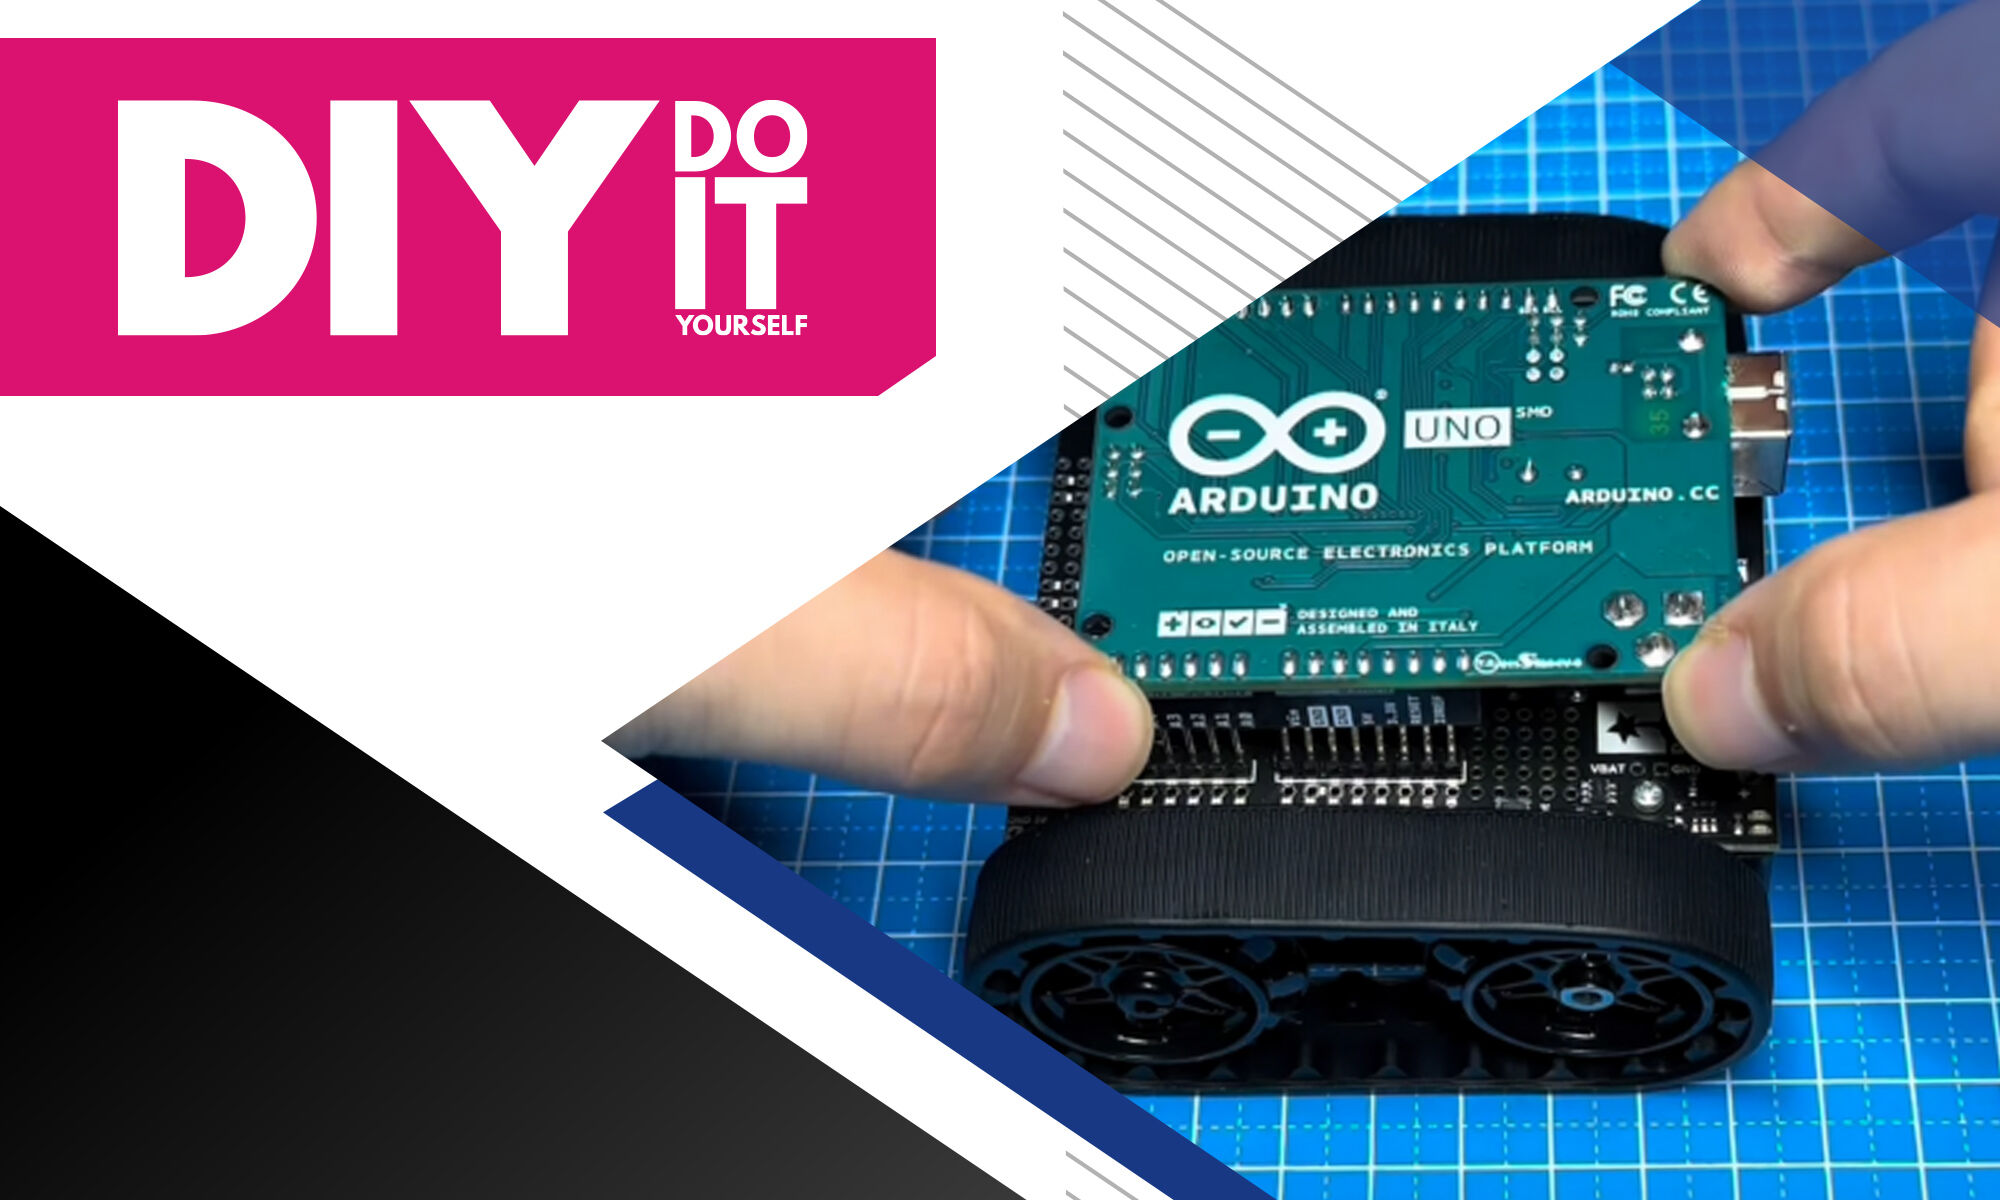
Sound Synthesizer with Arduino Uno? Why not! With the Arduino Make Your Uno Kit, you can create your own musical instrument. Learn how to do it quickly and easily.
The Hardware you will need:
- 1x Make your UNO Kit from Arduino
- 1 x PCB ASX00045
- 1 x Resistor 100kOhm
- 1 x Resistor 10Ohm
- 1 x IC LM386
- 1 x Capacitor 47nF
- 1 x Electrolytic Capacitor 47uF/25V
- 1 x Electrolytic Capacitor 220uF/25V
- 1 x Cap 100nF
- 1 x 6-pin I/O connector
- 2 x 8 I/O connector
- 1 x 10 I/O connector
- 6 x 10kOhm Potentiometers

Step 1:
Begin by inserting the 100kOhm resistor (brown, black, yellow) into the slot marked R1.
Then, insert the 10 Ohm resistor into slot R2.

Step 2:

Take the LM386N IC (the amplifier chip) and insert it into slot U1. Ensure it is oriented correctly by aligning the indented semicircle on the chip with the semicircle marking on the PCB. Once aligned, flip the PCB over and solder the chip in place
Step 3:
Grab your yellow 47 nF capacitor, place it in C1 and solder it to the PCB board.

Step 4:

This capacitor is polarized, so identify the negative side by the white stripe or shorter leg, and insert it into the hole marked with a '-'. Solder it to the board and trim the legs.
Step 5:
Take the blue 100 nF capacitor, place it in C3 and solder it to the board.

Step 6:

Now install the larger electrolytic capacitor (220µF / 25V). Just like the smaller one, it's polarized.
Identify the negative side and insert it into the PCB, leaving enough leg length to bend it flush after soldering. Solder, trim the legs, and then bend them to lie flat against the PCB.
Step 7:
Install the potentiometers, which act as variable resistors with a maximum resistance of 10kOhm, into slots R3, R4, R5, R6, R7, and R8.
Place them, flip the PCB, and solder each one in place.To make the process easier, solder each potentiometer before positioning the next one.

Step 8:
Remove the grill from the PCB and place the speaker in the slot where the grill was previously attached. Ensure that the speaker cables are fed through to the other side.
Now reattach the grill to the main PCB with 2 more nuts, holding the speaker in place.

Step 9:

Solder the cables of the speaker to the pads of the PCB.
Step 10:
Grab the pin-headers that go in J1, J2, J3, and J4. To make the assembly easier for yourself, insert the pin headers into the UNO board you previously assembled, to keep the pins straight while you're soldering them to the shield. Additionally, attach the distance bolts to both PCBs to secure them.

Step 11:
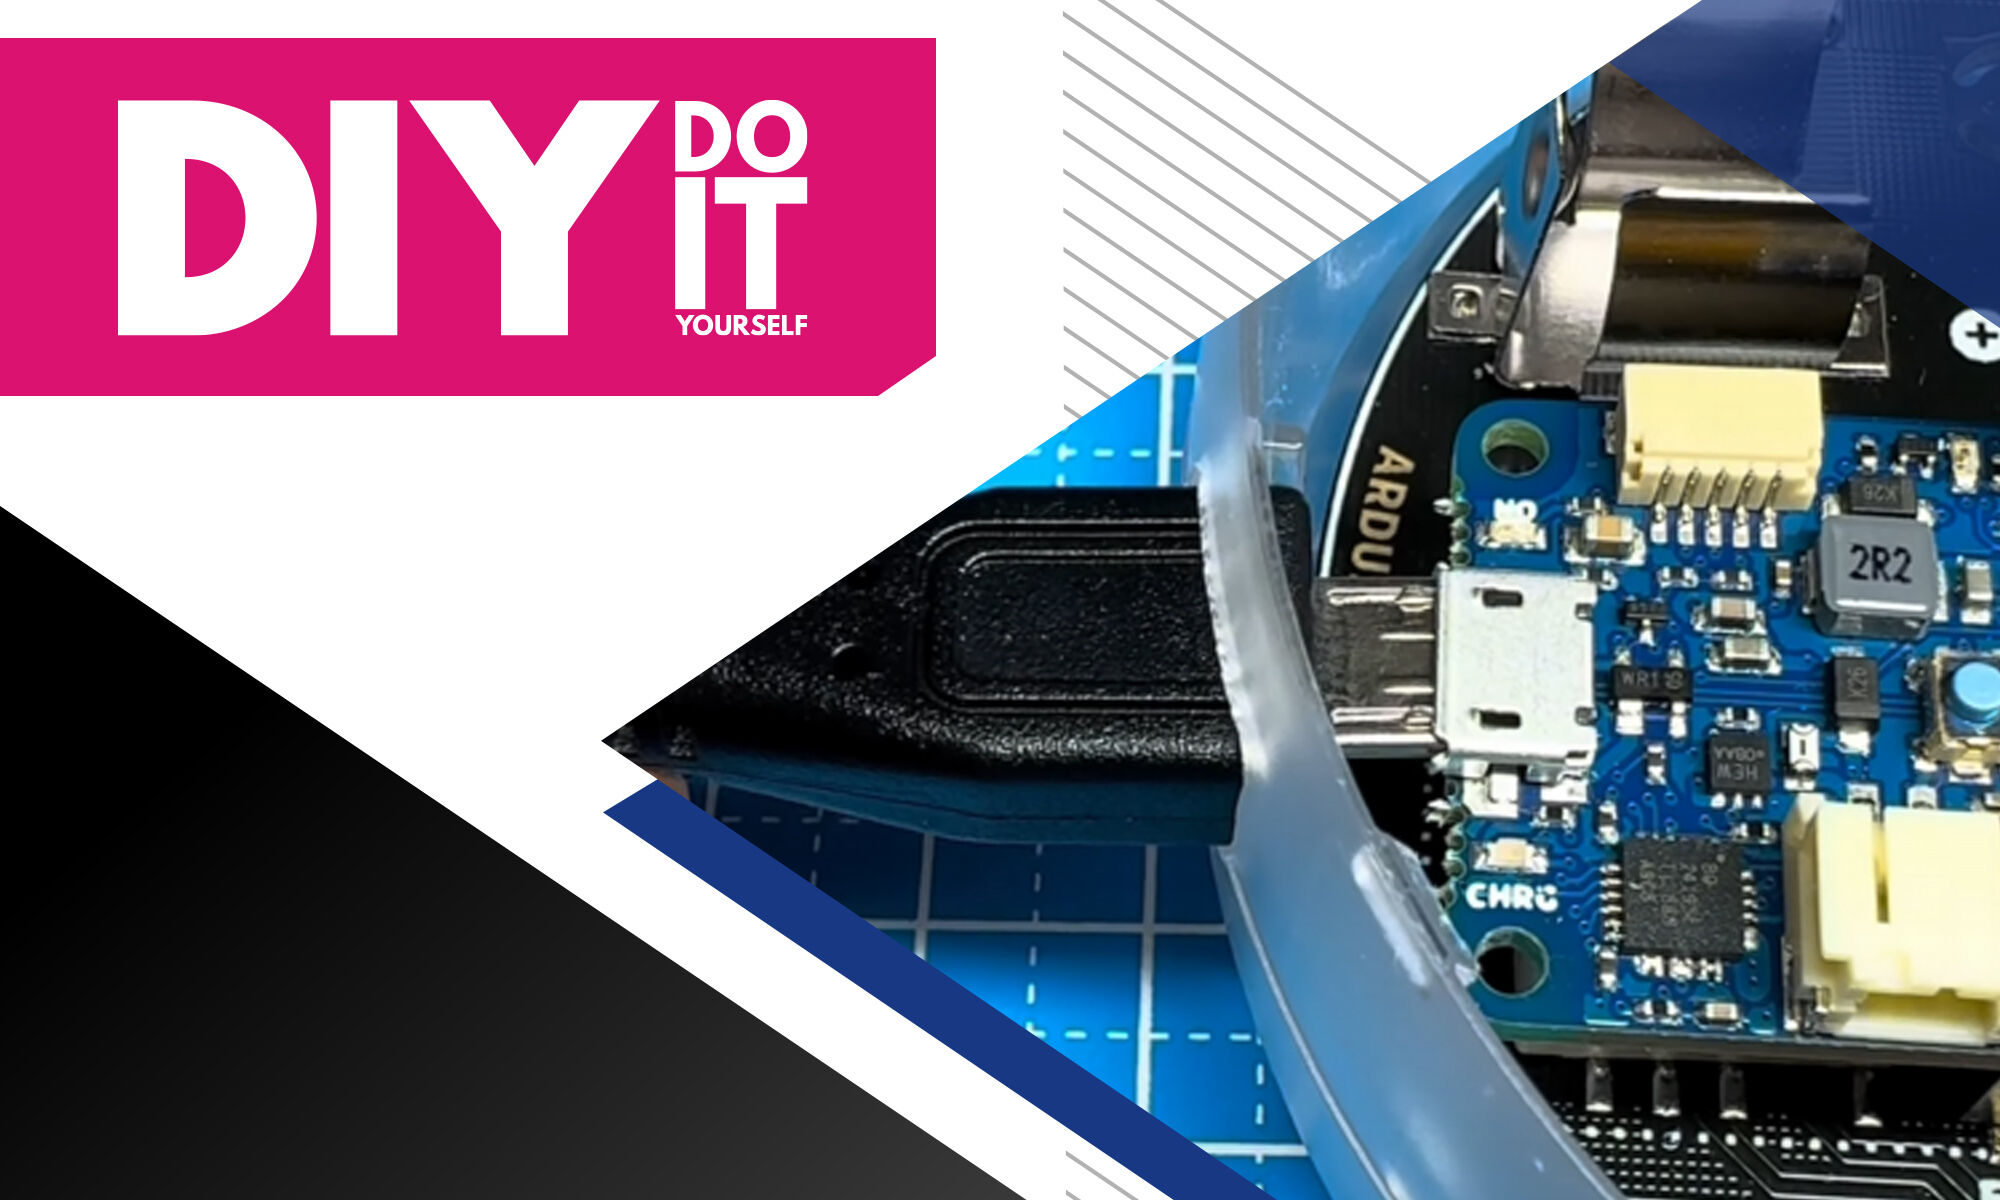
Finally, insert the knobs onto the potentiometers. Now, connect a USB-C cable and upload the code to the Arduino.

Transfer Multisort Elektronik (TME) is one of the world’s largest global distributors of electronic components, electrotechnical parts, workshop equipment, and industrial automation. The catalog includes over 1,500,000 products from 1,300 leading manufacturers. TME’s modern logistics centers in Łódź and Rzgów (Poland), with a combined area of over 40,000 m², ship nearly 6,000 packages daily to customers in more than 150 countries.
TME also invests in the development of knowledge and skills of young engineers and electronics enthusiasts through the TME Education project, and supports the tech community by organizing the TechMasterEvent series, promoting innovation and experience exchange.