Pololu Romi Chassis Project
Pololu Romi Chassis ProjectDate of publication: 31-12-2024 Update date: 10-04-2026 🕒 4 min read
Step by step we will show you how to quickly build a simple, mobile robot based on the POLOLU Romi chassis. But that's not all, in the next guide we will show you what you can use this construction for.
The Hardware you will need:
Included in the Kit:
- Romi Chassis Base Plate (with battery cover)
- Two Mini Plastic Gear-motors (120:1 HP with extra-long shafts)
- Two Motor Clips
- Two Pololu Wheels (70×8mm)
- One Ball Caster Kit (for balance)
- One Battery Contact Set
You’ll Also Need:
- Six AA batteries (rechargeable ones are best)
- Romi 32U4 Control Board
- A soldering iron (for making electrical connections)
- Power Distribution Board
- Motor Driver Board
- Romi 32U4 Control Board (for programming the robot)
- Encoder Kit (for tracking wheel movement)
- Additional sensors and parts
1. Introduction
The Romi chassis is a small, round robot base that moves on two wheels. It comes with a spot for six AA batteries and has an option to add a small ball at the front for balance. You can attach various electronic parts like controllers and sensors.
The chassis is versatile and comes in different colours, making it great for many robot projects.
2. Assembly
Steps:
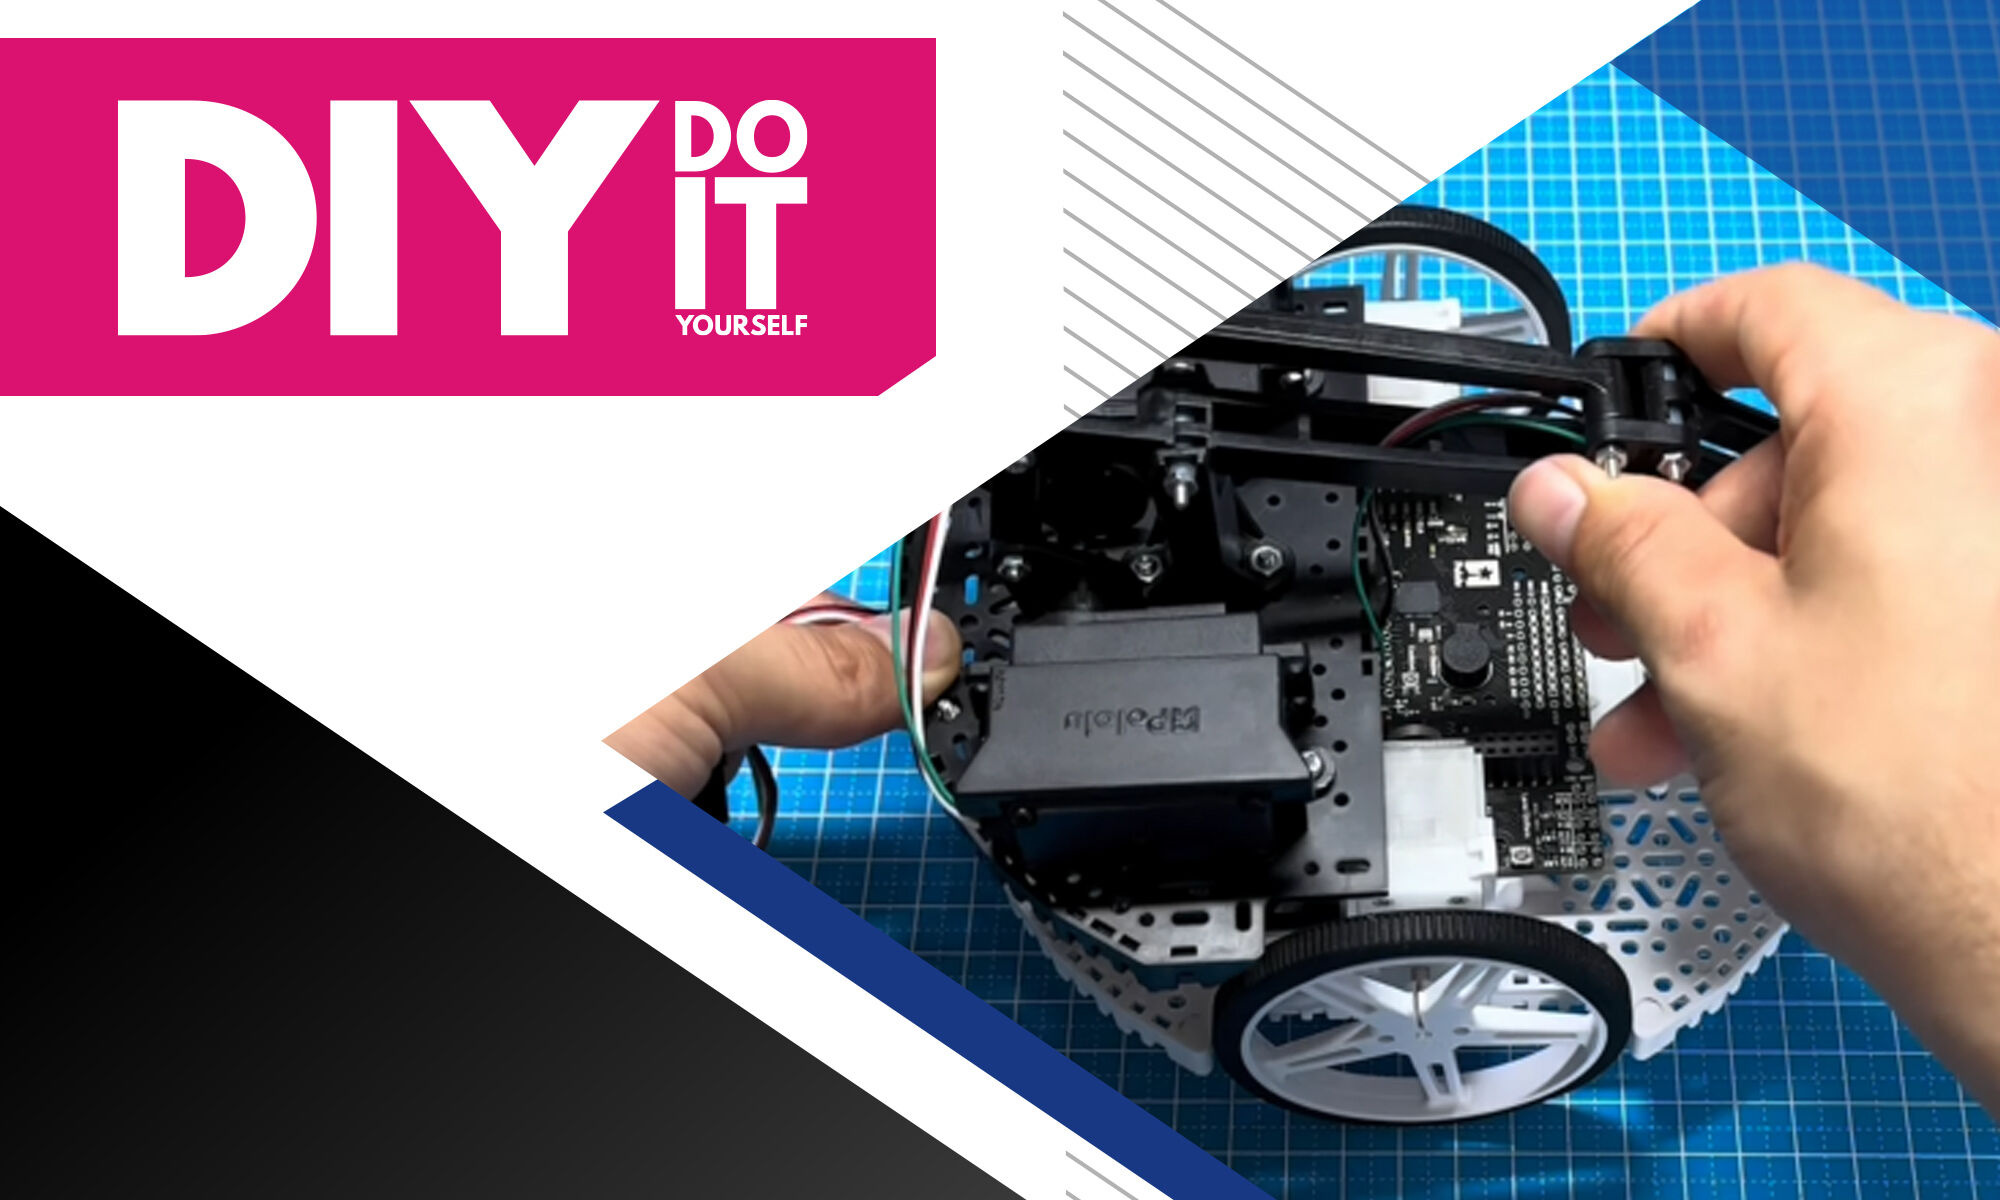
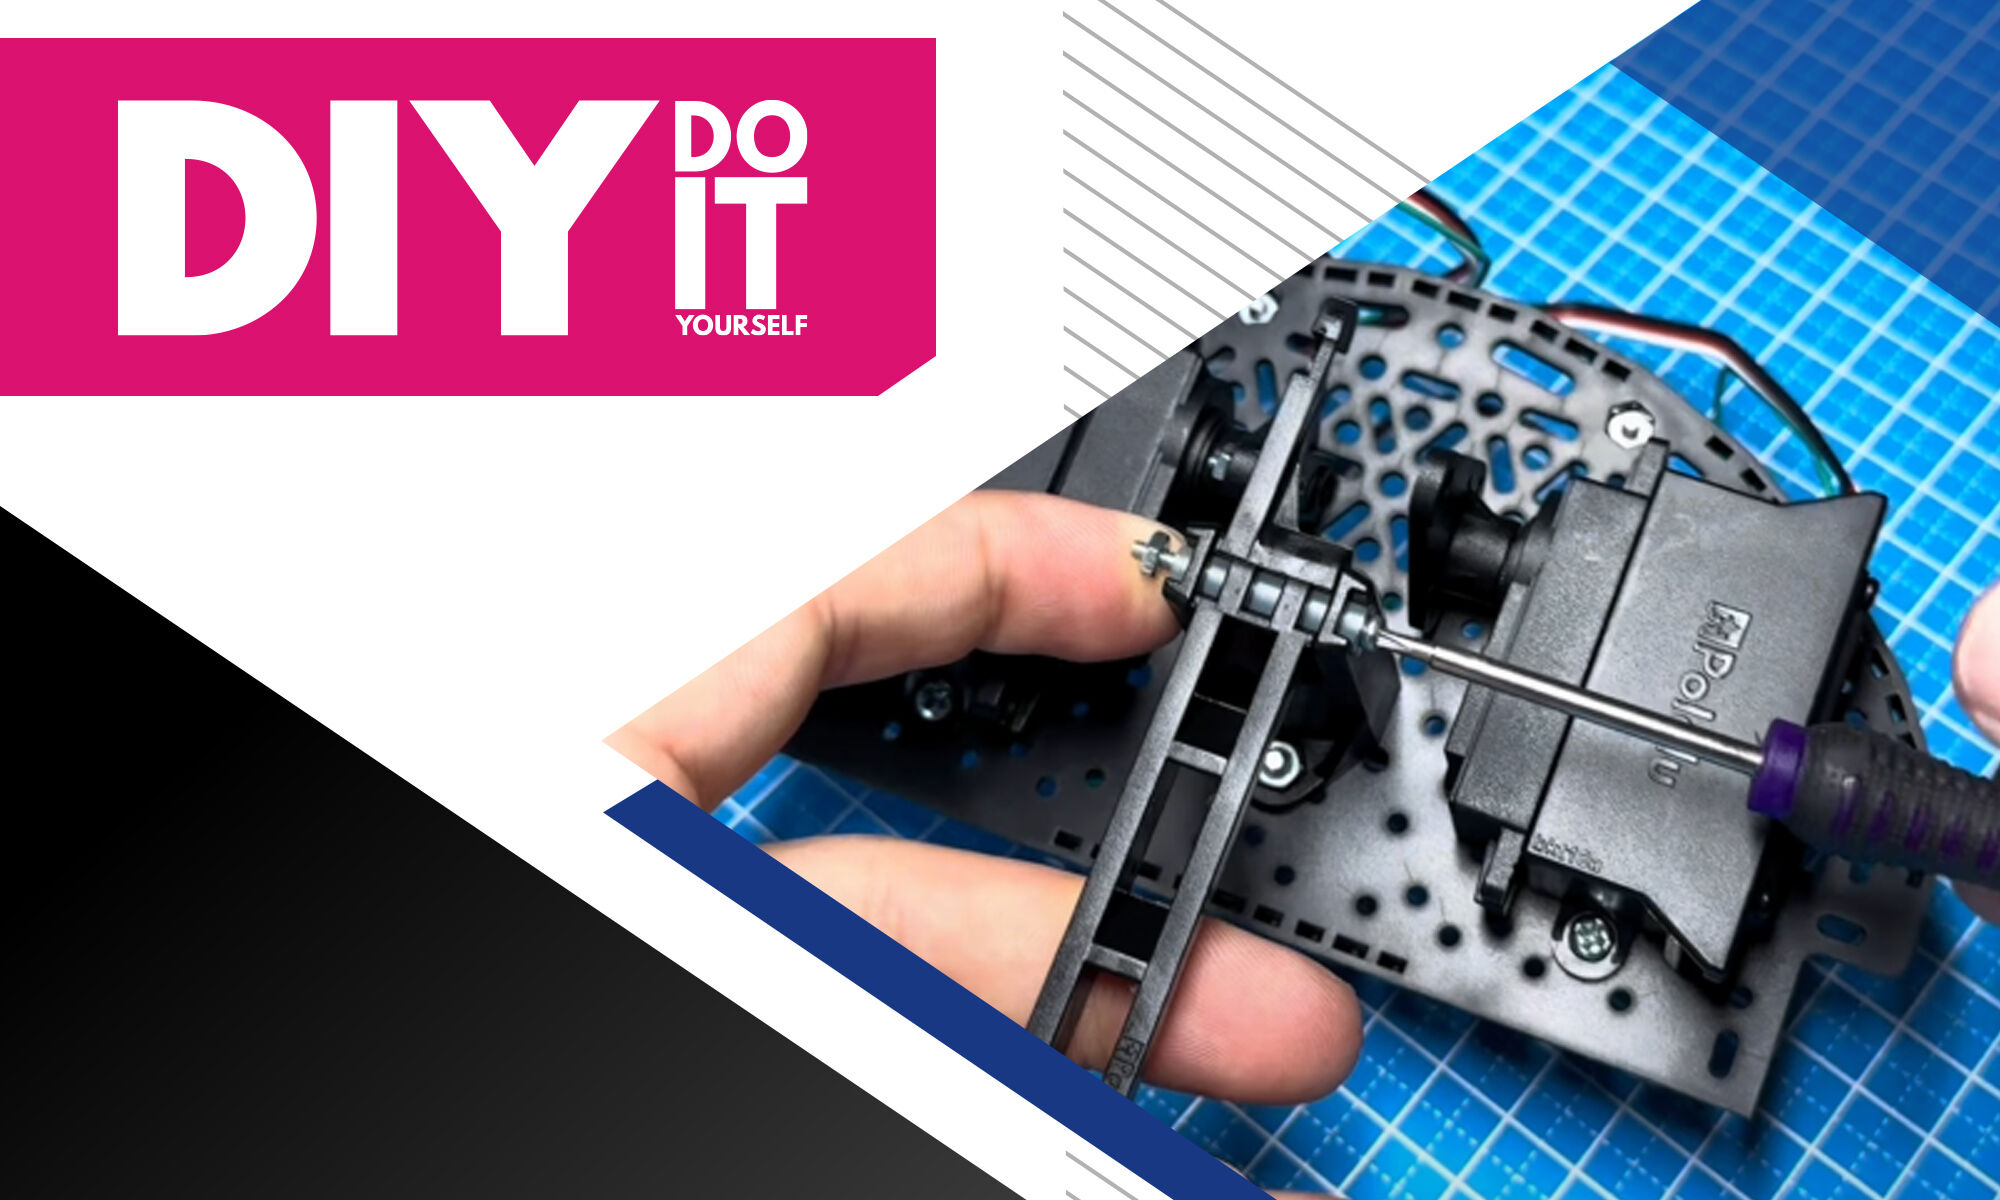
1. Insert the battery contacts into the chassis and put in the battery terminals.

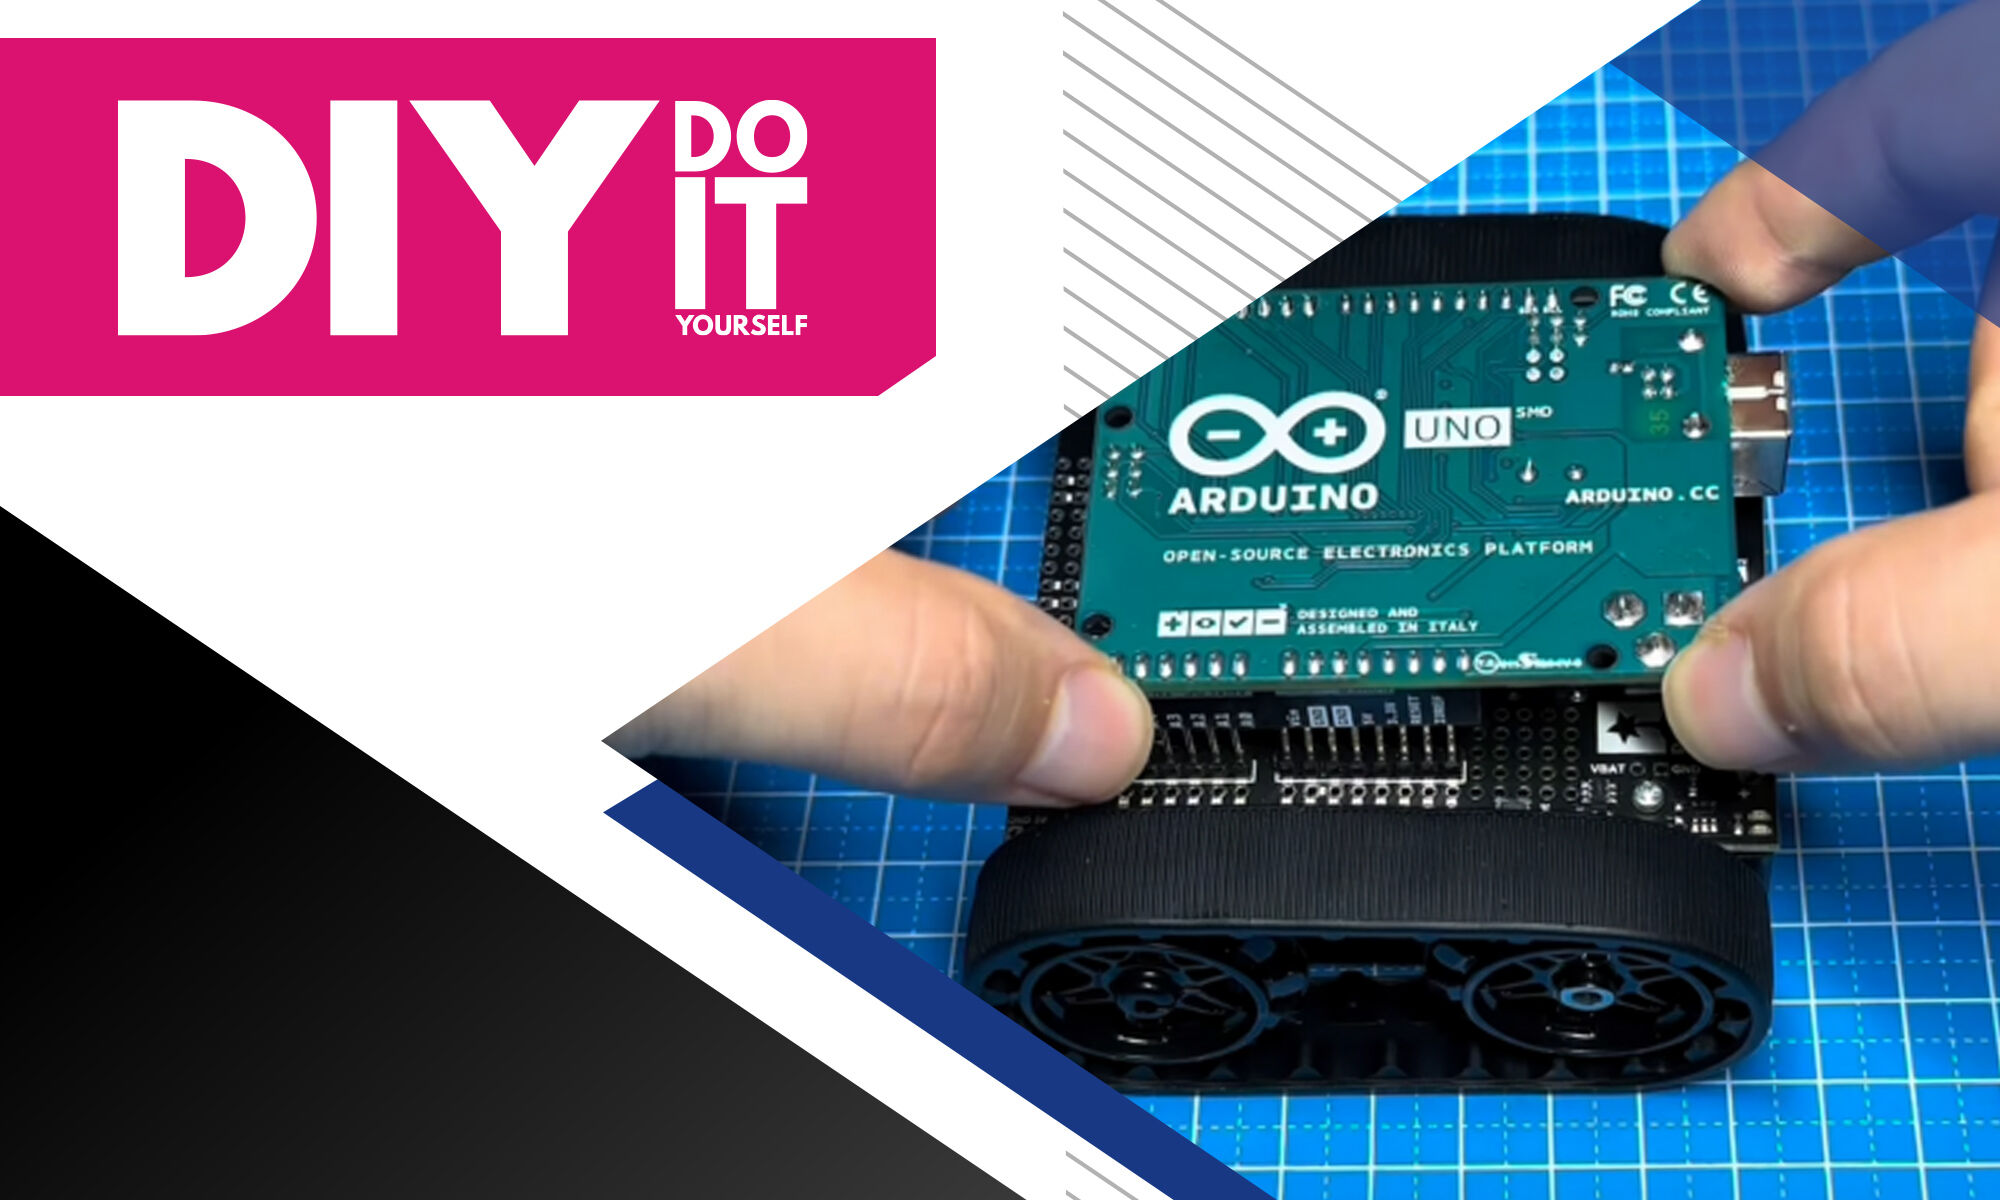
2. Mount the Romi 32U4 Control Board onto the chassis.

3. Attach the motor clips to the chassis.

4. Install the encoder board.

5. Place the motors into the clips.

6. Attach the wheels to the motors.

7. Assemble the back ball caster.

8. Insert the batteries following the directions on the chassis.

Tips:
- Make sure all connections are secure.
- Double-check the battery orientation to ensure proper power flow.
- Test the motors and wheels after assembly to ensure they move correctly.
3. Power Options
You can power the chassis in different ways:
- Use either the four-battery section or the two-battery section alone.
- Use all six batteries together for more power by connecting a wire between the battery terminals.
- The Power Distribution Board helps you use all six batteries, gives protection against reverse battery installation, and provides easy power connections.
4. Dimensions and Mounting Holes
The Romi chassis has many holes and slots of different sizes. These make it easy to attach extra parts and customise your robot. You can use different screws and standoffs to secure additional components like sensors, cameras, or extra circuit boards.
5. What to Do Next
After putting the chassis together and setting up the power, you can add and program the electronics to control your robot. The Romi 32U4 Control Board and other optional parts can help you create a fully functioning robot. You can program the robot to perform various tasks, like navigating obstacles, following lines, or responding to sensors.
Next Steps:
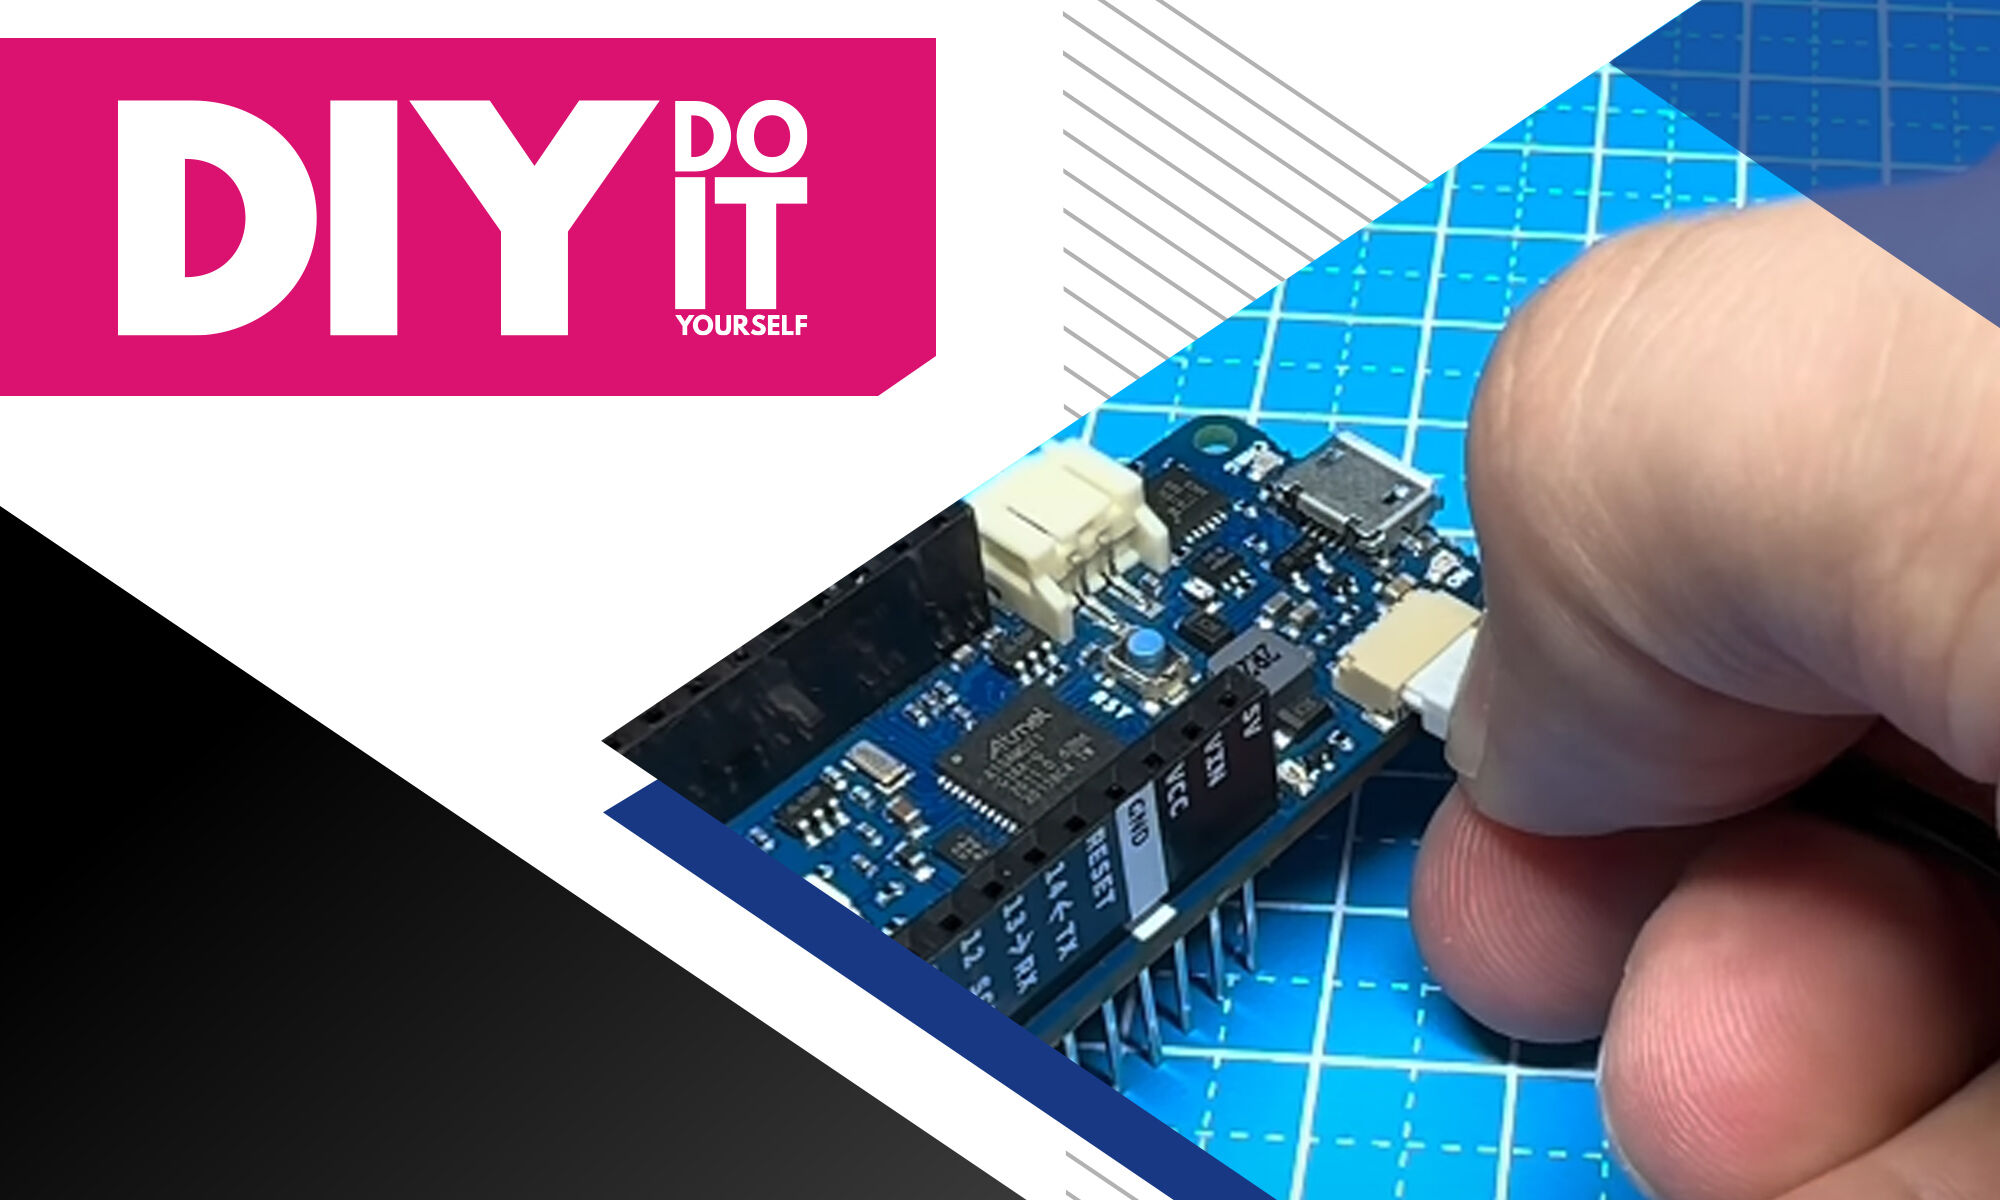
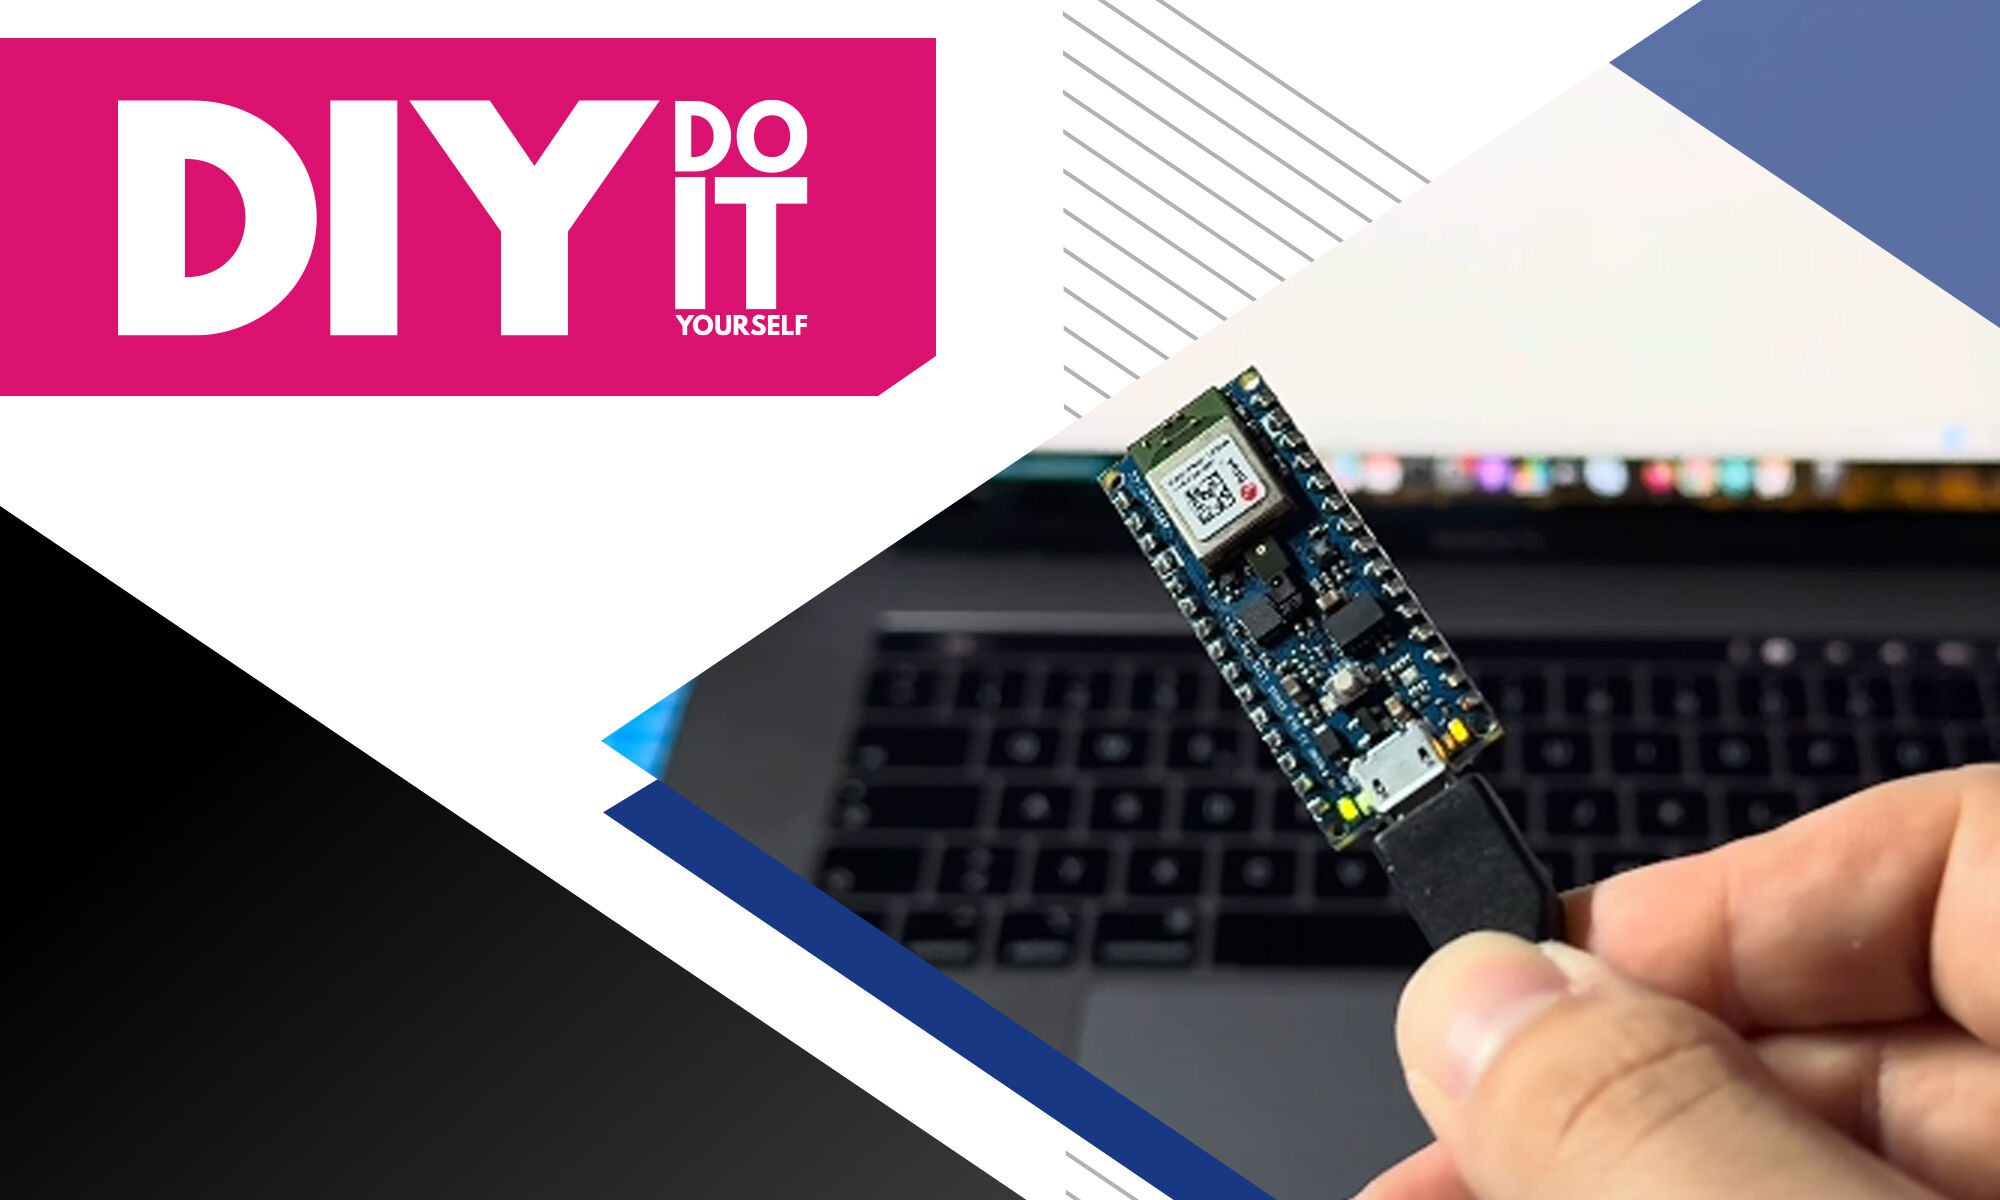
- Connect the control board to your computer and upload sample programs.
- Test the robot's movements and adjust as needed.
- Explore adding more sensors and features to enhance your robot's capabilities.
Transfer Multisort Elektronik (TME) is one of the world’s largest global distributors of electronic components, electrotechnical parts, workshop equipment, and industrial automation. The catalog includes over 1,500,000 products from 1,300 leading manufacturers. TME’s modern logistics centers in Łódź and Rzgów (Poland), with a combined area of over 40,000 m², ship nearly 6,000 packages daily to customers in more than 150 countries.
TME also invests in the development of knowledge and skills of young engineers and electronics enthusiasts through the TME Education project, and supports the tech community by organizing the TechMasterEvent series, promoting innovation and experience exchange.