Getting started with Raspberry Pi AI HAT+
Getting started with Raspberry Pi AI HAT+Date of publication: 27-05-2025 Update date: 10-04-2026 🕒 3 min read
Unlock AI on your Raspberry Pi 5! Follow this step-by-step guide to set up the AI HAT+ and start exploring its powerful capabilities.
So you’ve purchased the Raspberry Pi AI HAT+ but you’re not entirely sure how to get it working? Or perhaps you’re considering purchasing one, but the installation process seems complicated? Check out this guide by Raspberry Pi expert Nate Contino to smoothly get through the whole configuration process step by step.
The Raspberry Pi AI HAT+ is an add-on board with a built-in Hailo AI accelerator compatible with Raspberry Pi 5. The NPU (neural processing unit) in this board can be used in a range of applications, such as home automation, security, process control, or robotics.

It’s available in two variants: 13 and 26 tera-operations per second (TOPS).
They’re both built around the Hailo-8 and Hailo-8L neural network inference accelerators. The first one is best for moderate workloads, whereas the second is able to run larger networks and can do so faster. It can also run several networks at the same time.
The AI HAT+ uses Raspberry Pi 5’s PCIe (Peripheral Component Interconnect Express) interface to communicate. Raspberry Pi 5 acts as a host and automatically detects the on-board accelerator, using the NPU to perform AI computing tasks. Raspberry Pi OS’ built-in rpicam-apps camera applications use the NPU to perform compatible post-processing tasks.
To use the AI HAT+, you will need a Raspberry Pi 5!
AI HAT+ installation step-by-step
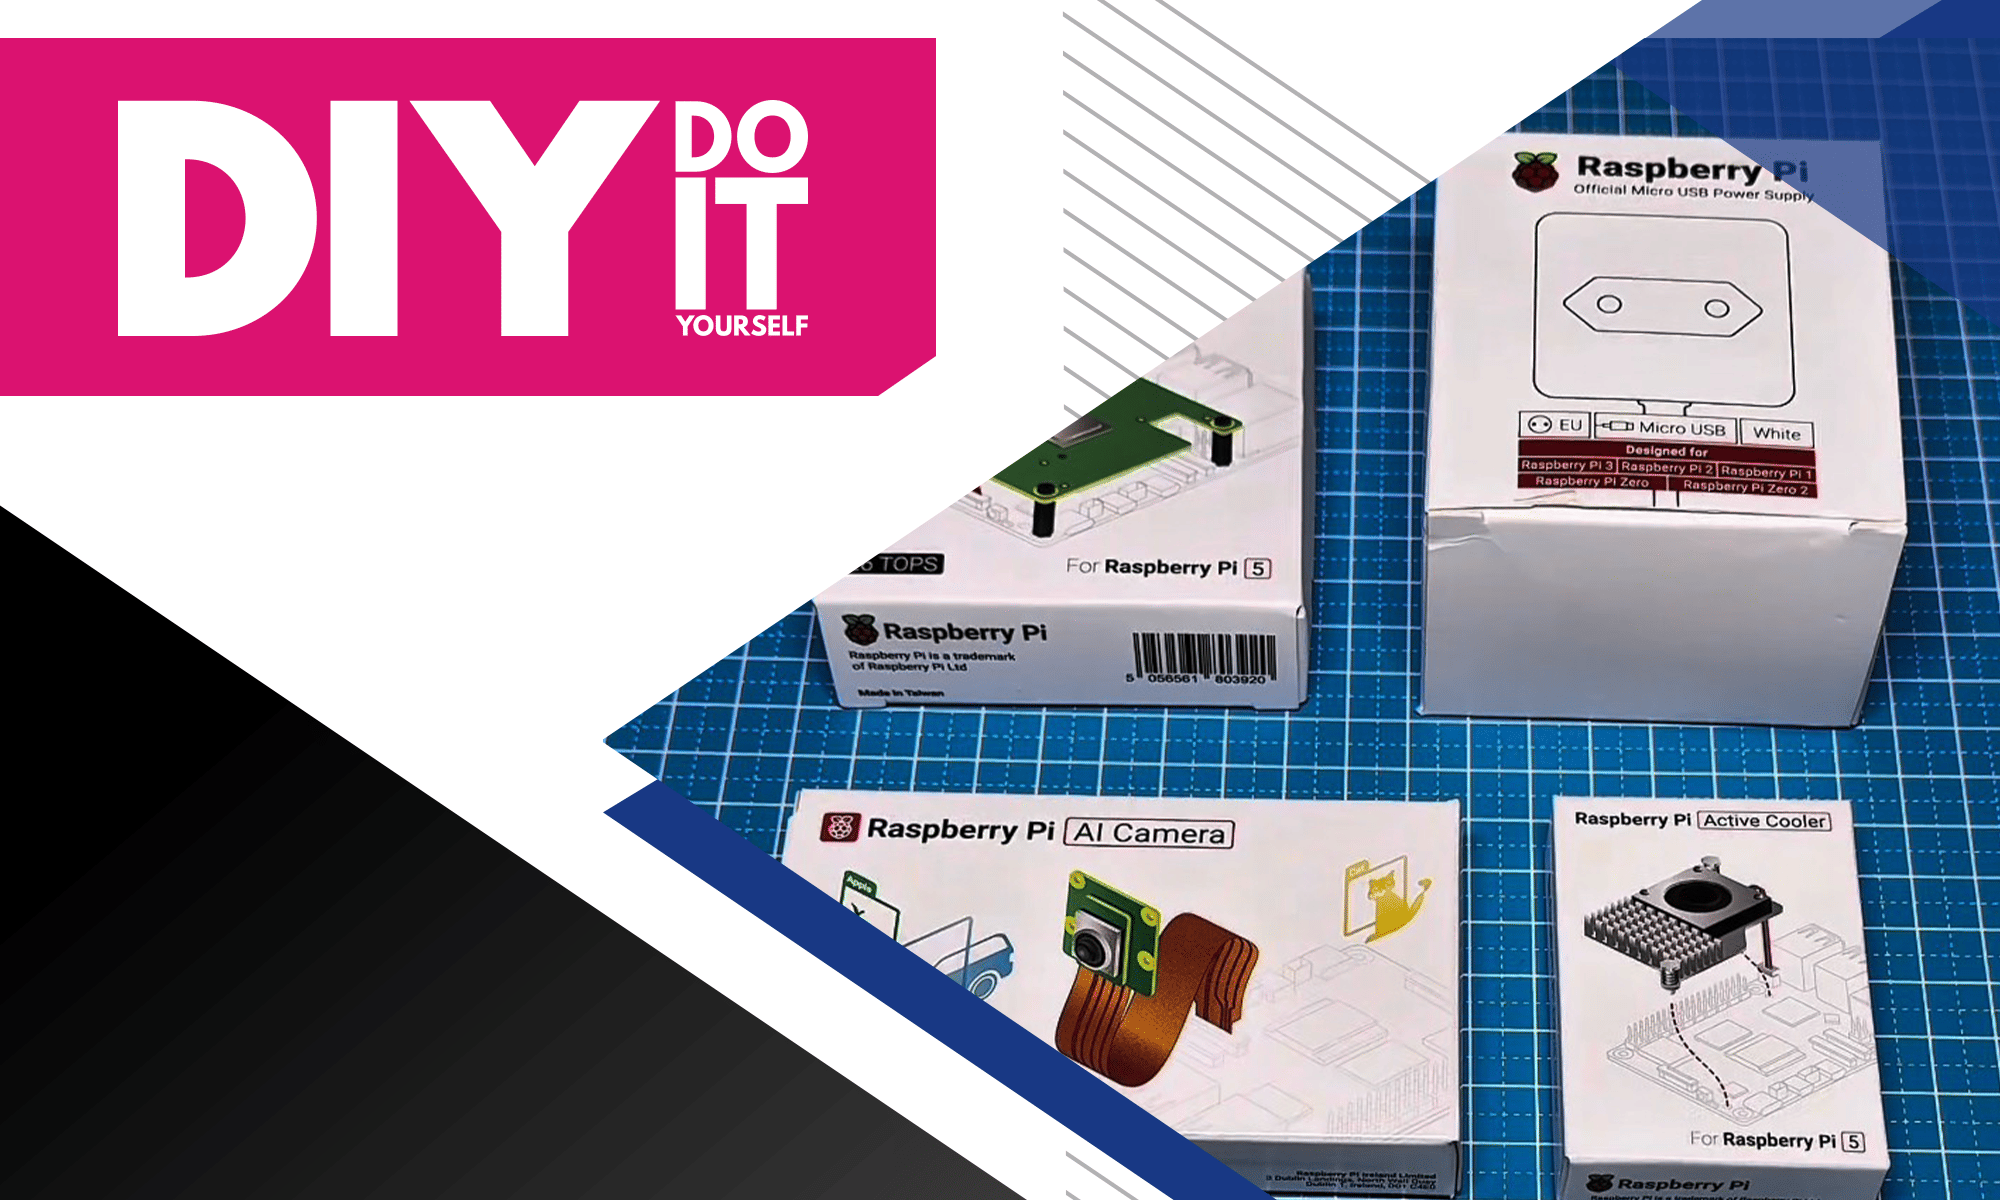
The AI HAT+ comes with a ribbon cable, GPIO (general-purpose input/output) stacking header, and mounting hardware. You will need them during the configuration. In order to install your device, follow these steps:
- First, make sure that your Raspberry Pi uses the latest software. To update, run the following command: $ sudo apt update && sudo apt full-upgrade.
- Next, you need to ensure that your Raspberry Pi firmware is also up to date. To see the version of the firmware you’re currently running, use the command: $ sudo rpi-eeprom-update.
- If the date reads 6 December 2023 or later, you can proceed. If the date is earlier than 6 December 2023, run the following command to open the Raspberry Pi Configuration CLI: $ sudo raspi-config. In the section Advanced Options > Bootloader Version, choose Latest.
- Next, exit raspi-config with Finish or the escape key. To update the firmware to the latest version, run the command: $ sudo rpi-eeprom-update -a. Then, reboot with sudo reboot.
- Before beginning installation, make sure to disconnect your Raspberry Pi from power.
- We recommend using the AI HAT+ with the Raspberry Pi Active Cooler to achieve the best performance. In that case, install it before installing the AI HAT+.
- Use four of the provided screws to install the spacers. Firmly press the GPIO stacking header on top of the Raspberry Pi GPIO pins to attach it. As long as all pins fall into place, their orientation isn’t important.
- Next, disconnect the ribbon cable from the AI HAT+ and attach it to the Raspberry Pi by inserting its other end into the PCIe port. Lift the ribbon cable holder from both sides and insert the cable with the copper contact points facing inward, towards the USB ports.
- When the ribbon cable is fully and evenly inserted into the PCIe port, you should be able to push the cable holder down from both sides to secure the ribbon cable in place. Then, you can set the AI HAT+ on top of the spacers and secure it with the four remaining screws.
- Insert the ribbon cable into the slot on the AI HAT+. Lift the cable holder from both sides, then insert the cable with the copper contact points facing up. With the cable fully inserted, you can push the cable holder back down.
- Congratulations, you have successfully installed the AI HAT+, and now you can start using it. Just connect the Raspberry Pi to power and the AI HAT+ will be automatically detected by the Raspberry Pi OS.
Note: This article is not part of the official documentation and may not contain the latest updates. For the most up-to-date instructions and guidance, please refer to the AI HAT+ documentation page.
Transfer Multisort Elektronik (TME) is one of the world’s largest global distributors of electronic components, electrotechnical parts, workshop equipment, and industrial automation. The catalog includes over 1,500,000 products from 1,300 leading manufacturers. TME’s modern logistics centers in Łódź and Rzgów (Poland), with a combined area of over 40,000 m², ship nearly 6,000 packages daily to customers in more than 150 countries.
TME also invests in the development of knowledge and skills of young engineers and electronics enthusiasts through the TME Education project, and supports the tech community by organizing the TechMasterEvent series, promoting innovation and experience exchange.